Keyshot Render: 'Product Reveal' Animation Trick

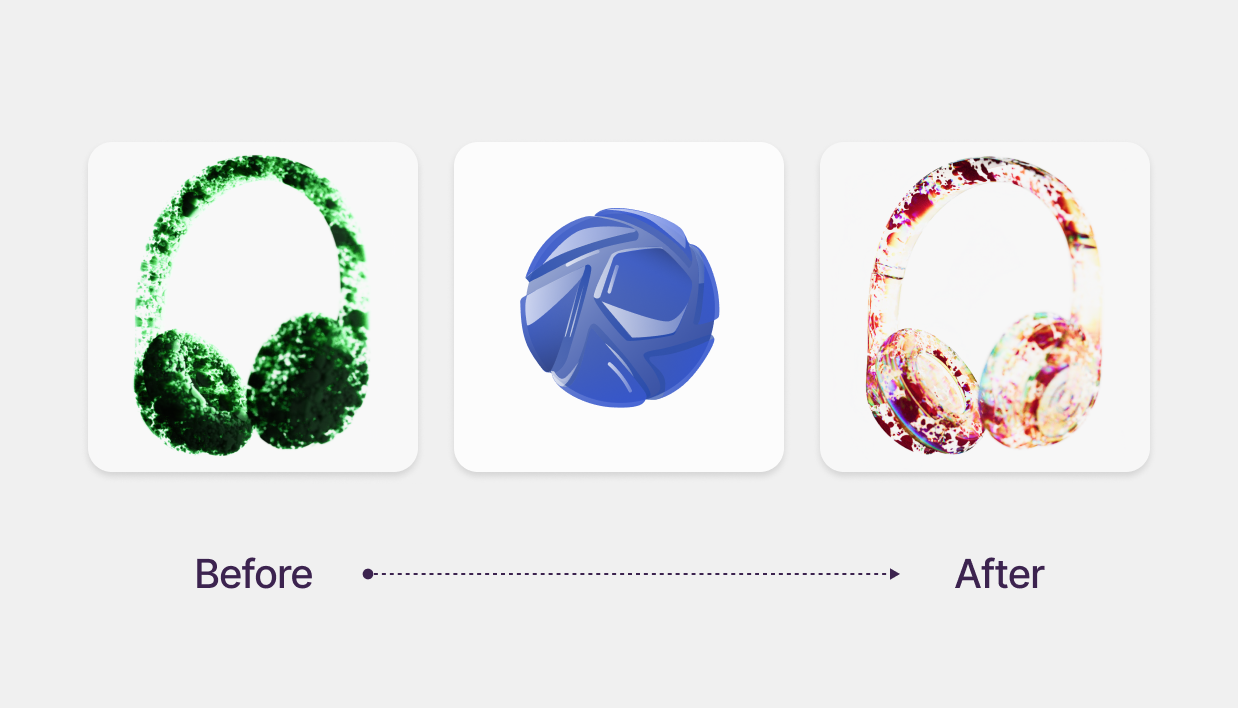
Creating a stunning 'Product Reveal' animation in KeyShot is easier than you think! With just a few simple steps, you can achieve a professional-looking effect using opacity or density maps. Follow this guide to bring your animations to life.
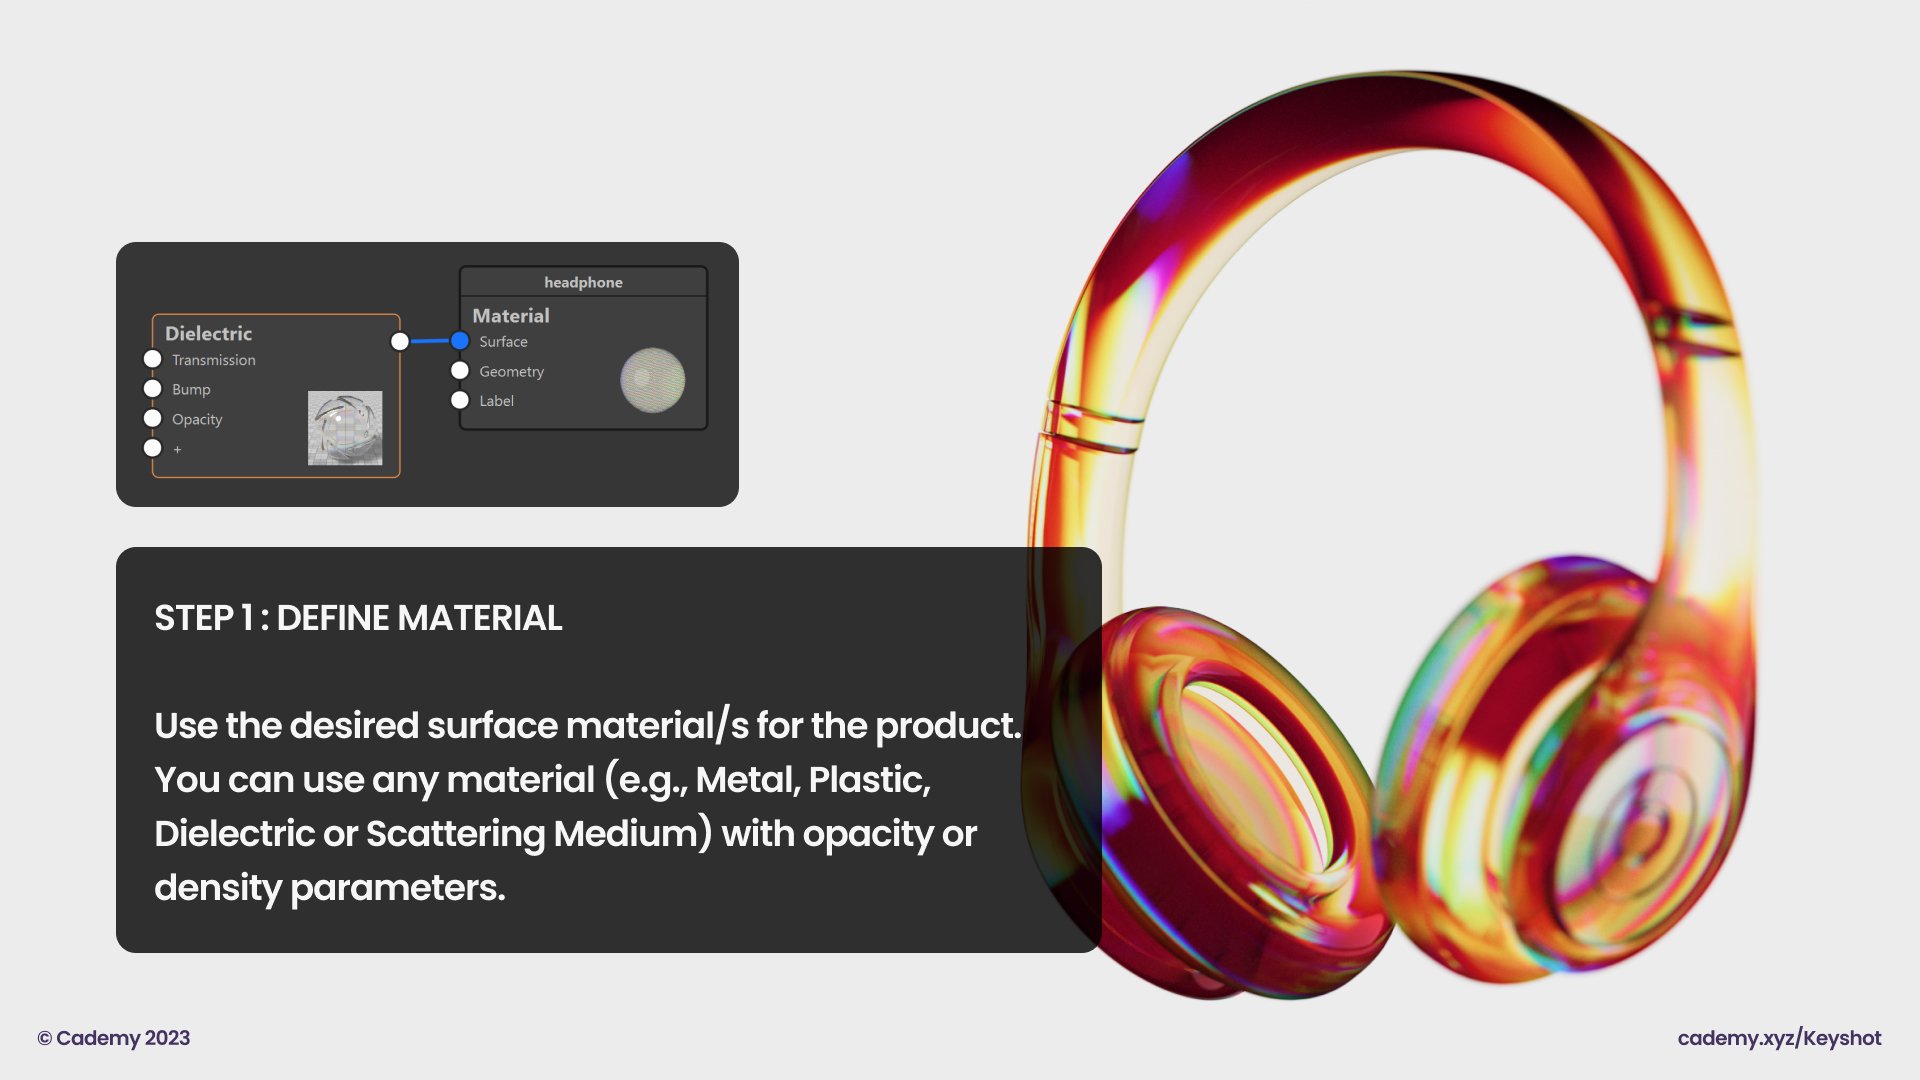
Step 1: Define Material
Choose the surface material(s) for your product. KeyShot allows you to use various materials such as Metal, Plastic, Dielectric, or Scattering Medium, provided they have opacity or density parameters.
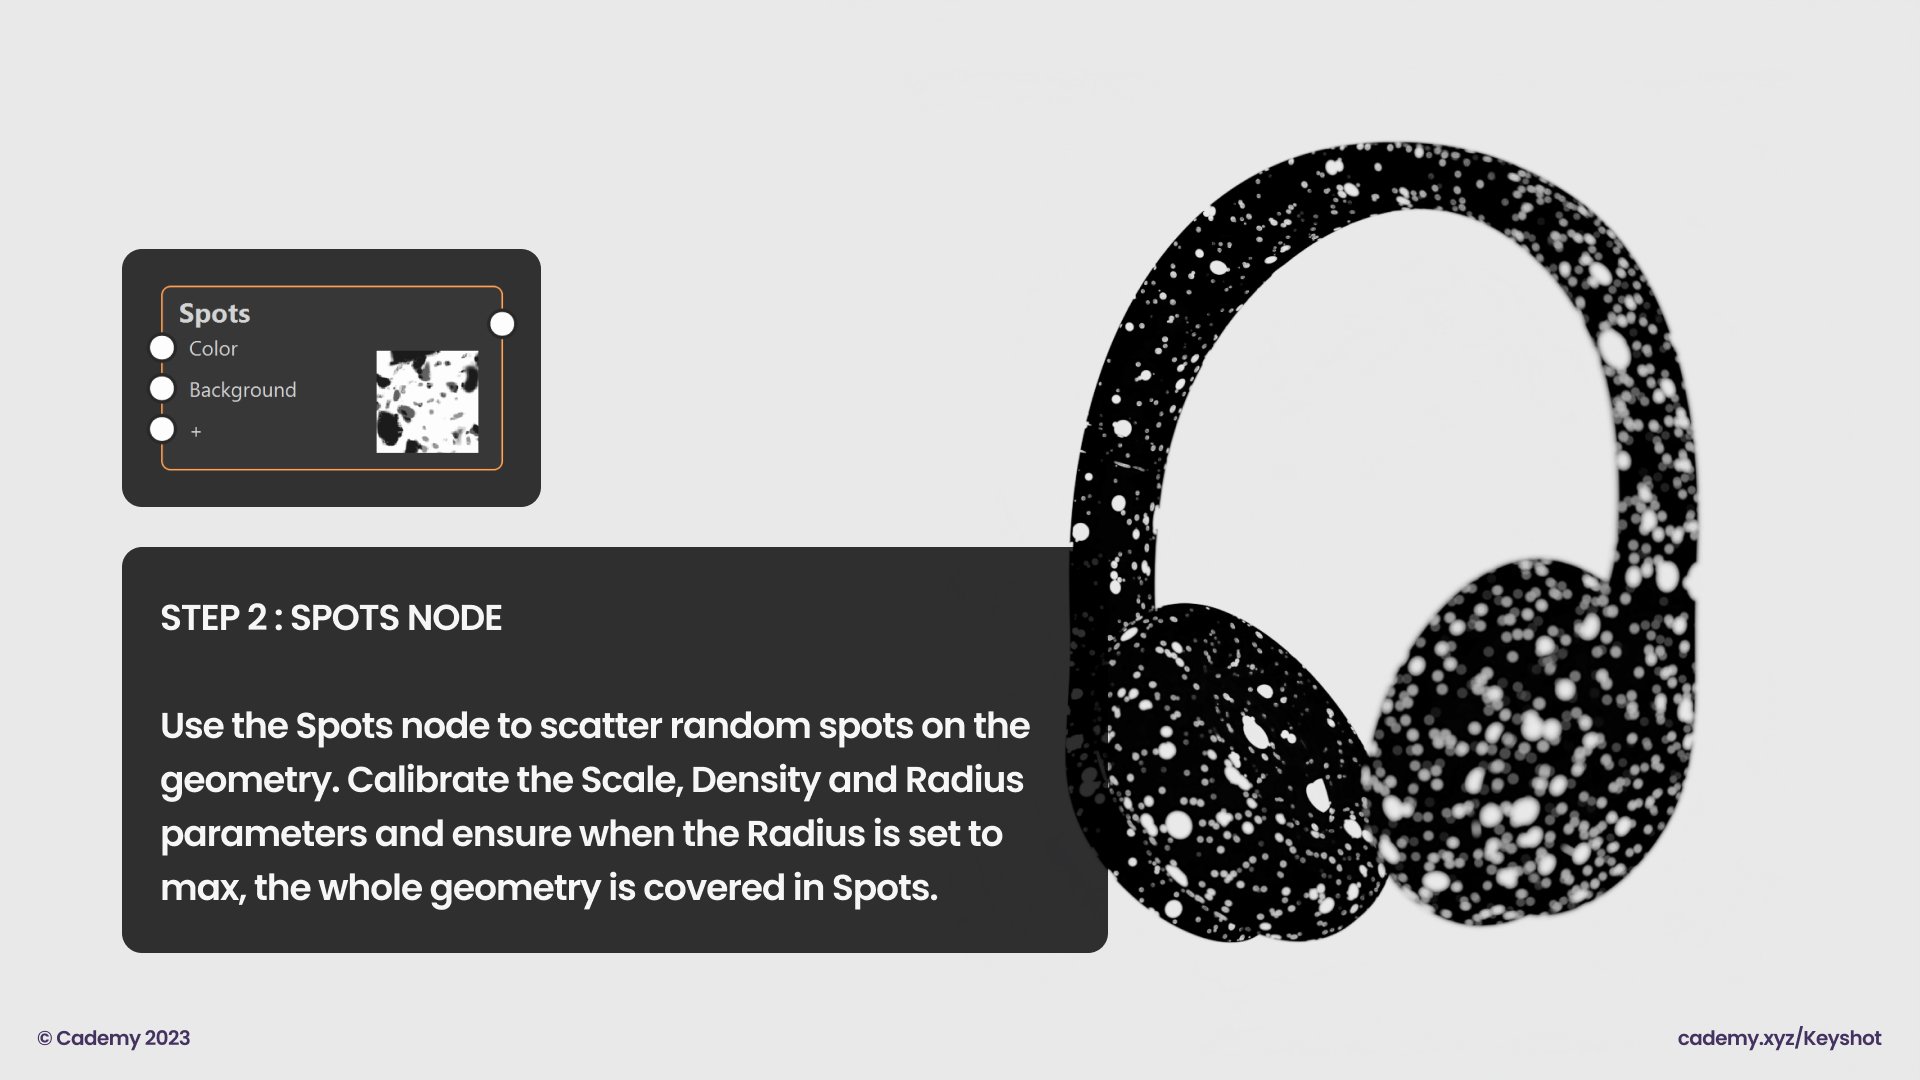
Step 2: Apply the Spots Node
Use the Spots node to scatter random spots on the geometry. Adjust the Scale, Density, and Radius parameters. Ensure that when the Radius is set to the maximum, the entire geometry is covered in spots.
Step 3: Set Opacity/Density Texture
Apply the Spots Node as the Opacity or Density Texture. The white spots will reveal the material, while the black spots will hide it.

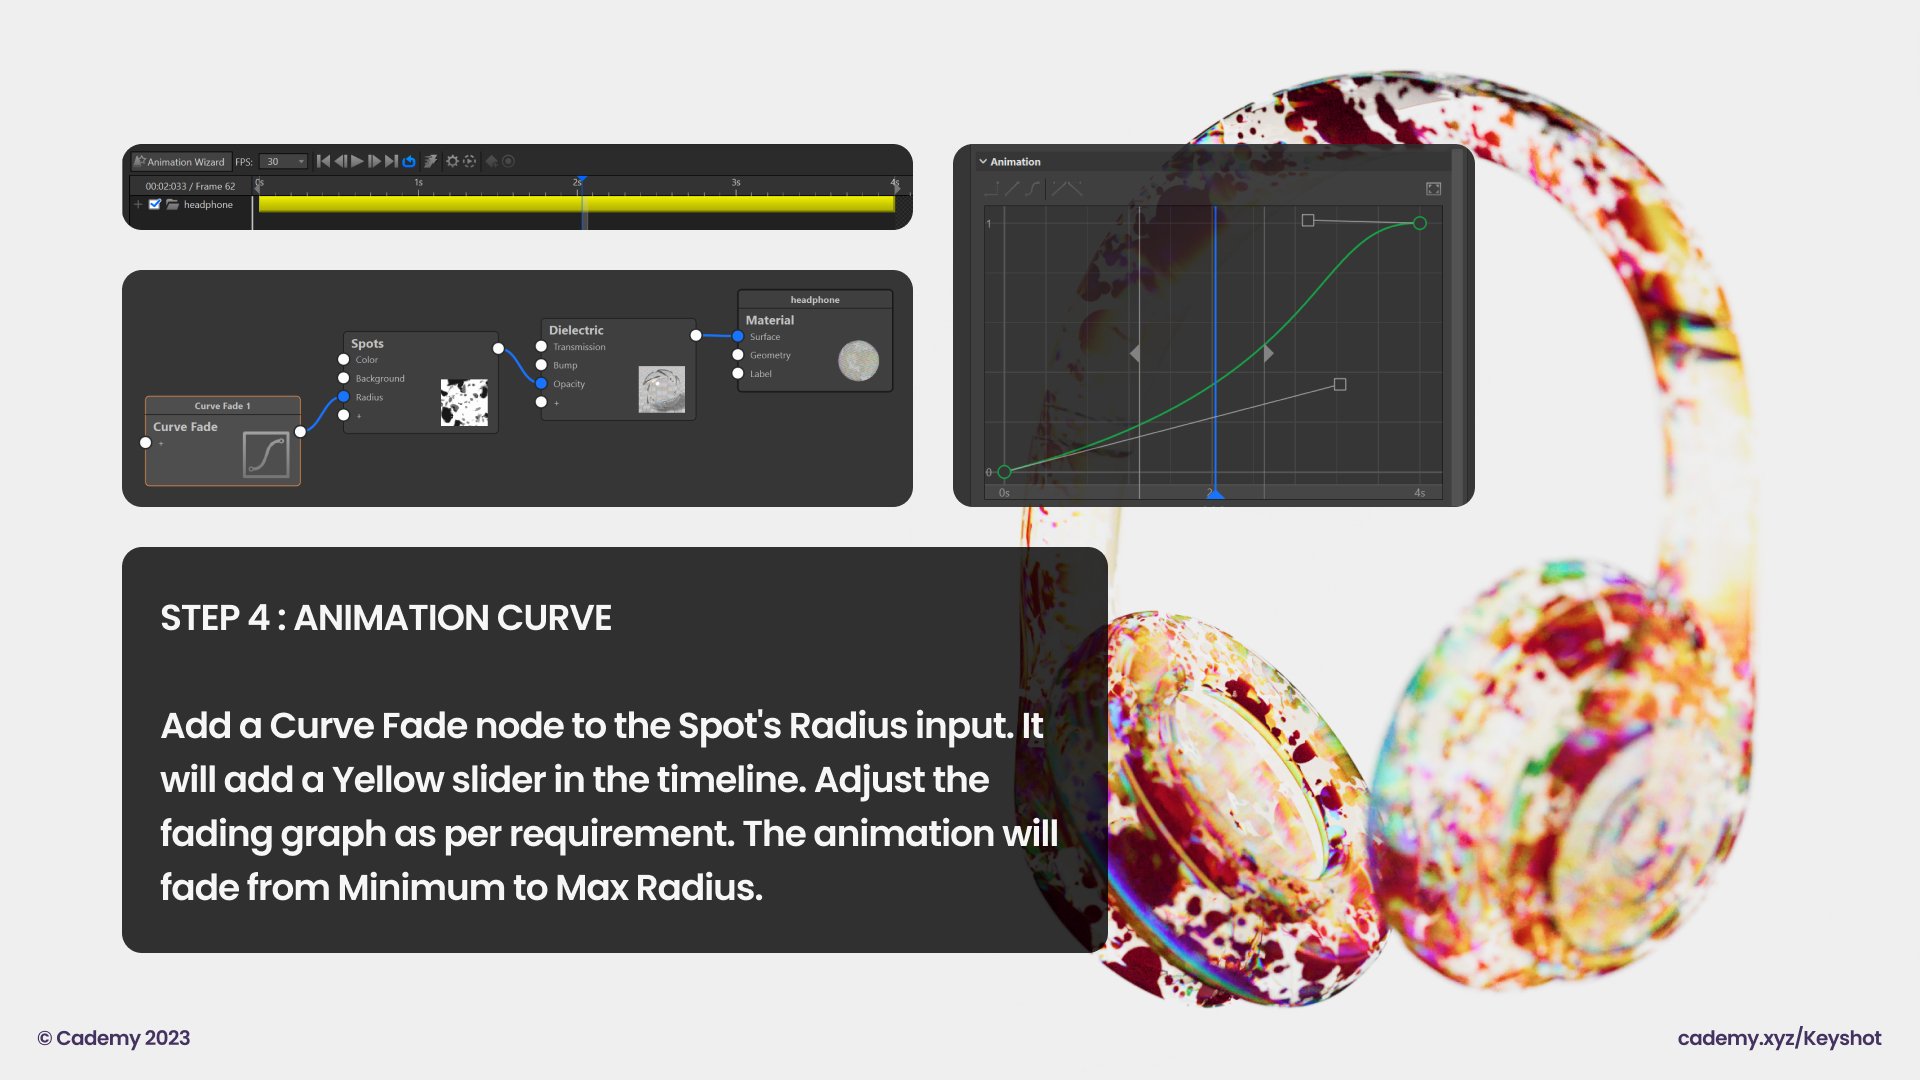
Step 4: Add an Animation Curve
Use a Curve Fade node and link it to the Spot's Radius input. This will add a yellow slider to the timeline, allowing you to adjust the fading graph. The animation will gradually fade from the minimum to the maximum radius.
Step 5: Animate the Material Reveal
Animate the Curve Fade node to create an engaging material reveal effect. As the yellow slider moves from left to right in the timeline, the spots on the product geometry will fade, gradually revealing the underlying material. This creates an eye-catching transition perfect for product animations.
Step 6: Fine-Tune the Parameters
Experiment with different values for Scale, Density, Radius, and Opacity/Density Texture to achieve your desired look. You can also modify the animation curve in the Curve Fade node to control the speed and smoothness of the material reveal.
Step 7: Add Lighting and Camera Movements
Enhance the animation’s visual impact by incorporating lighting and camera movements. Adjust lighting setups and explore different camera angles to create dynamic, engaging visuals. Use KeyShot’s camera animation tools for smooth, professional motion effects.
Step 8: Render and Optimize
Render your animation and review the results. If needed, tweak material properties, lighting, or camera movements to refine the final look. KeyShot’s real-time rendering makes it easy to see changes and adjust accordingly.
Step 9: Post-Processing Enhancements
Once rendered, you can further enhance the animation with post-processing techniques. Utilize KeyShot’s built-in post-processing options such as depth of field, color adjustments, and additional visual effects to polish the final output.
Thanks for reading ❤️
