GCode 3D Printing with Grasshopper

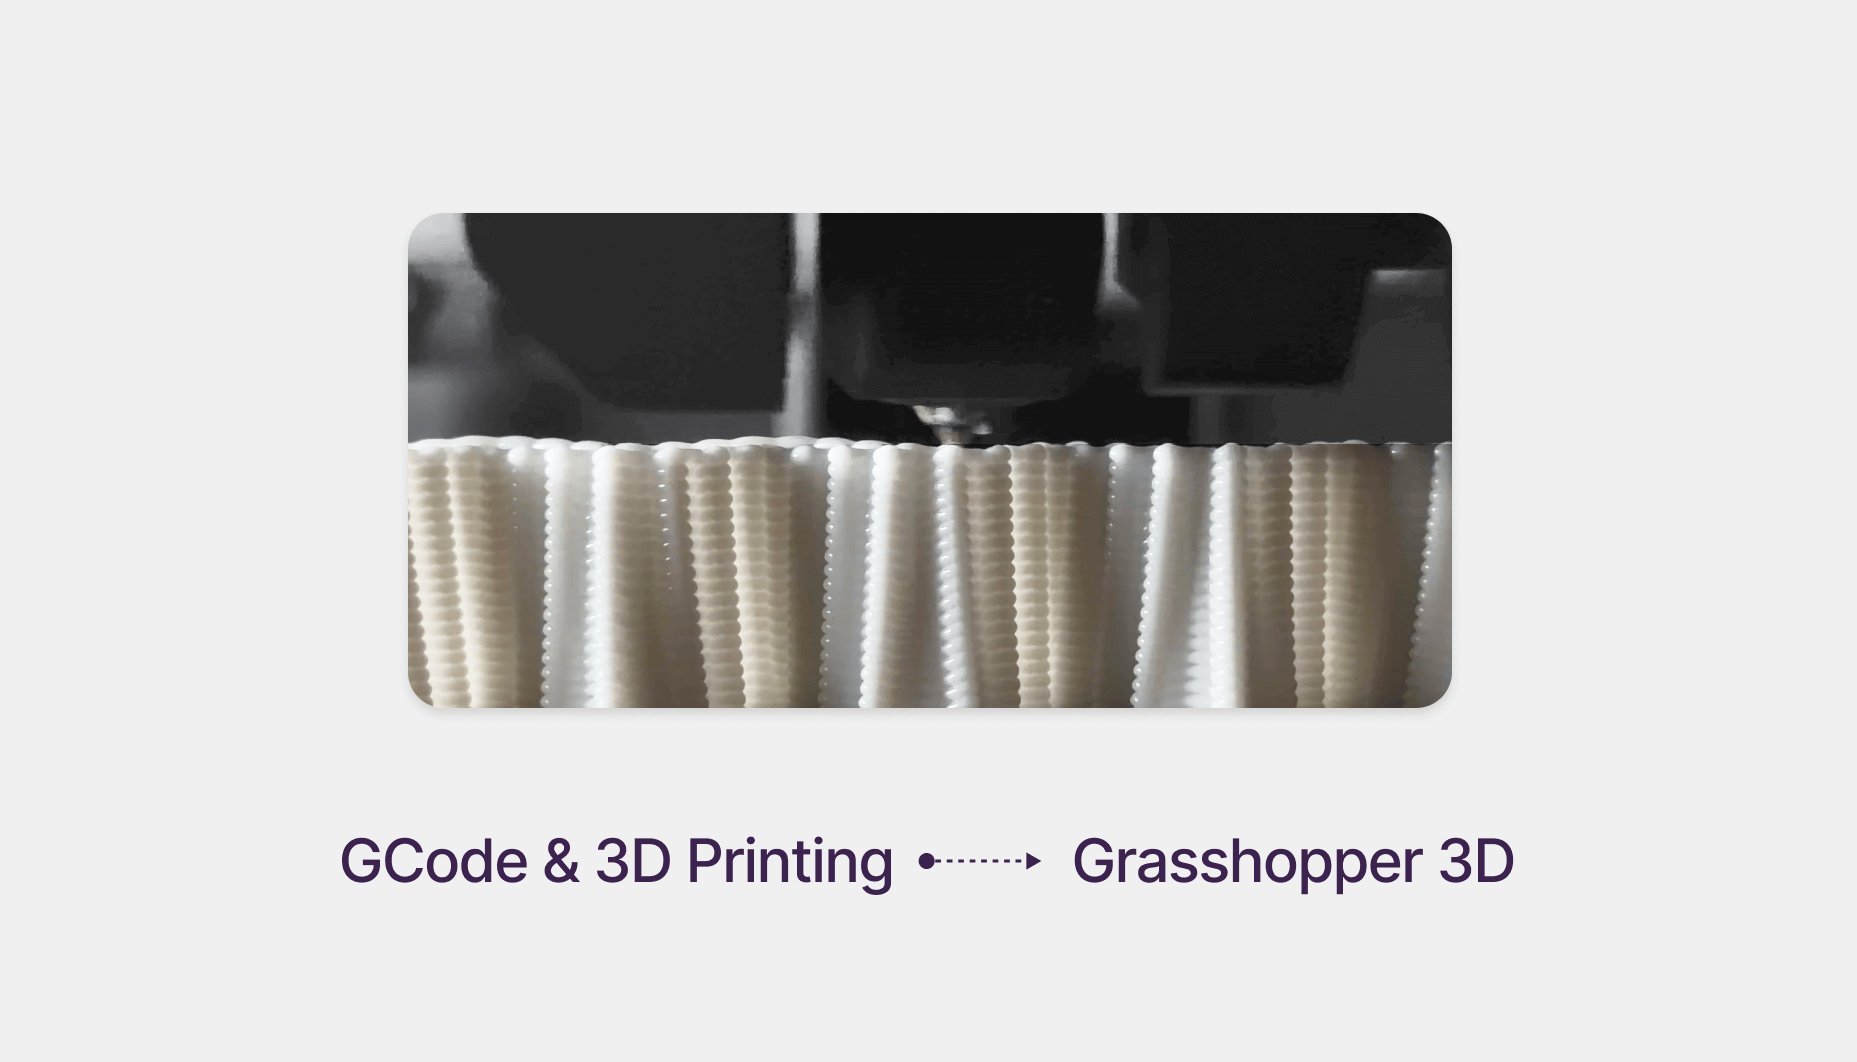
From Grasshopper to G-Code: A Simple Guide for 3D Printing
Most of us think in shapes. Printers don’t. While we sketch ideas and model surfaces, a 3D printer only understands one thing: movement through coordinates. G-code is simply the language that tells a machine where to go, how fast to move, and when to extrude material. Once you grasp that idea, everything else becomes surprisingly logical.
Grasshopper is a perfect companion for this, because if G-code is nothing but lists of coordinates, then Grasshopper excels at generating and controlling lists. In this short guide, we’ll connect the two worlds and generate our first printable movement.
Download Files
Reference & Inspiration
I took inspiration from the book Advanced 3D Printing with Grasshopper by my friend Diego Cuevas — highly recommended if you want to go deeper. And some resources files for illustration (Bambulab 3D model and Buidlplate 3d model)
1. The Journey: From Geometry to Code
Imagine if the 3D printer’s build plate existed in the positive coordinates of Rhino’s XYZ world. To talk to a printer, we must reduce geometry to its simplest form: points.
Geometry → Mesh/Curve → Polyline → Points (X, Y, Z) → Text Lines → G-Code
Each point becomes a command. A path becomes a list of commands. A print becomes thousands of them.

2. The Tiny Vocabulary of G-Code
The good news: you don’t need to learn 100 commands. For basic motion, these four are enough:
G0 ; Move fast, without printing
G1 ; Move while extruding (printing)
F ; Feed rate (speed)
E ; Extrusion amount
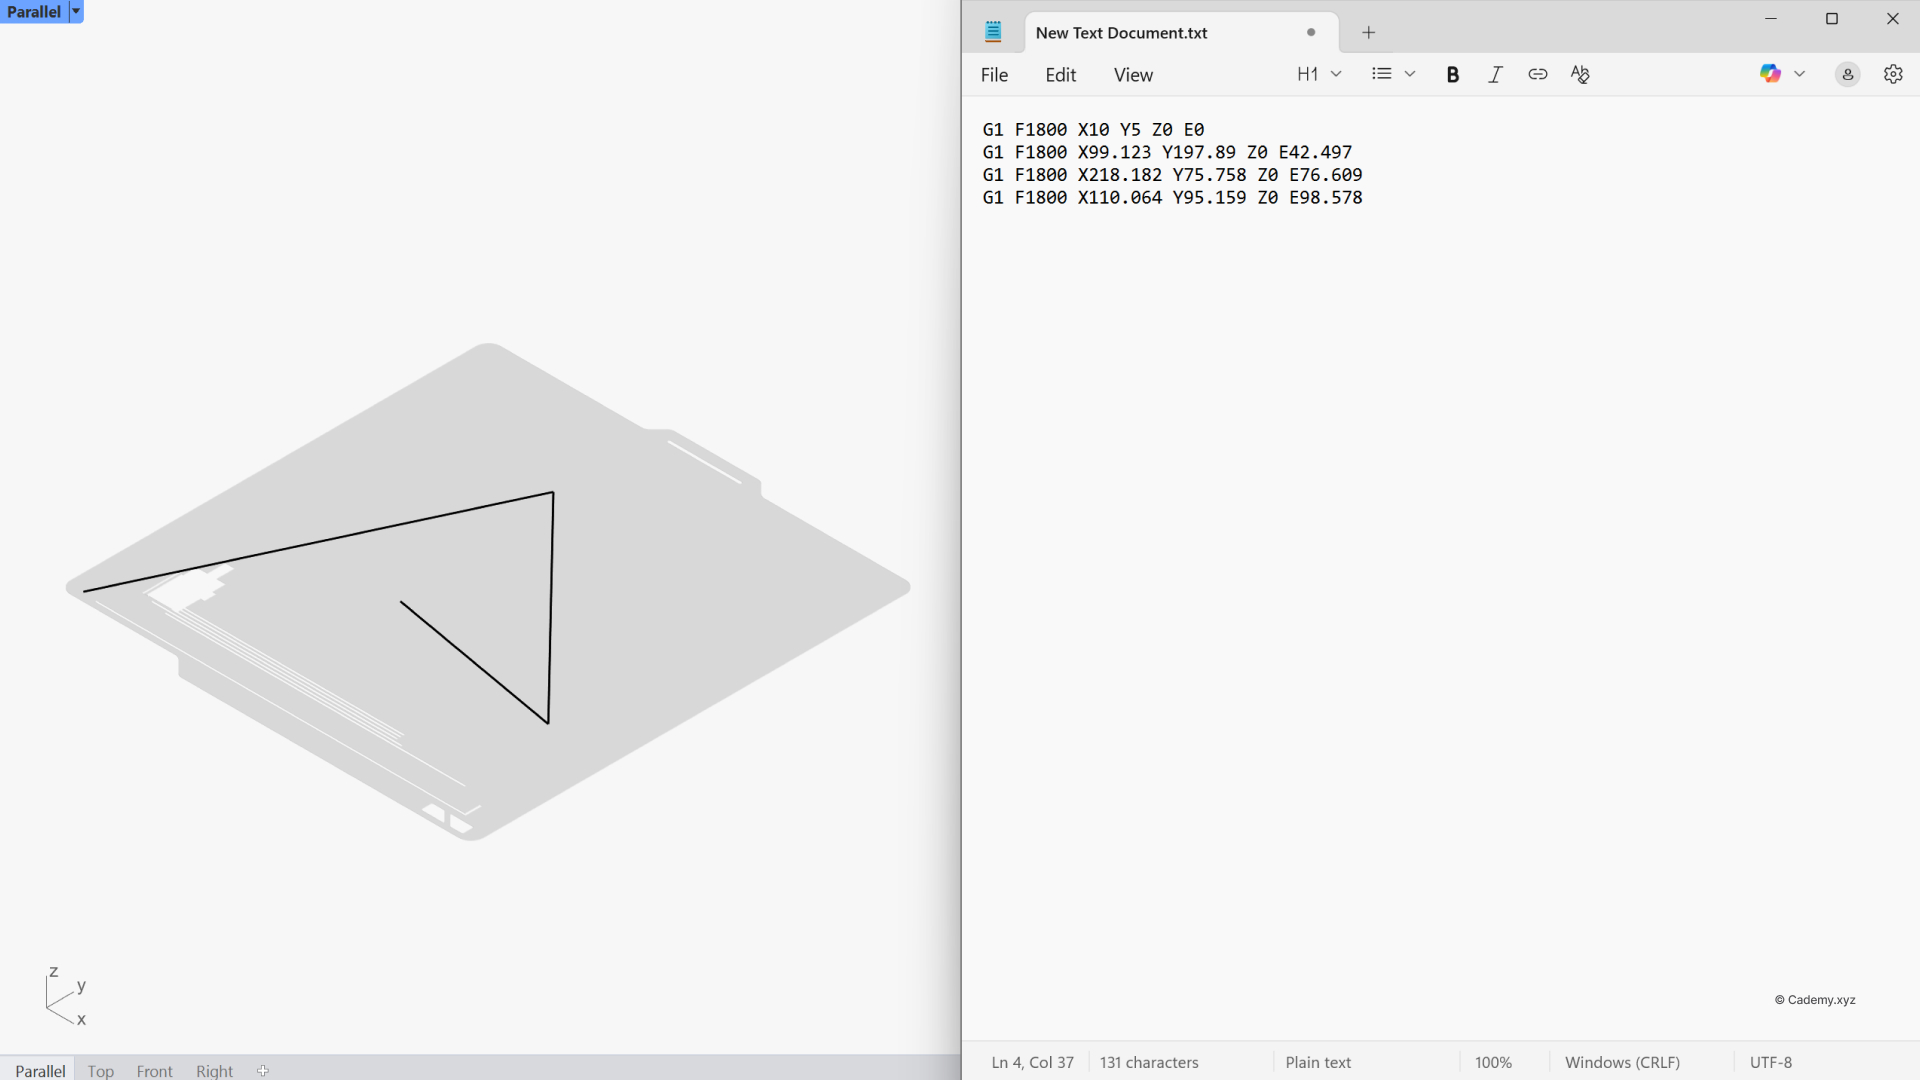
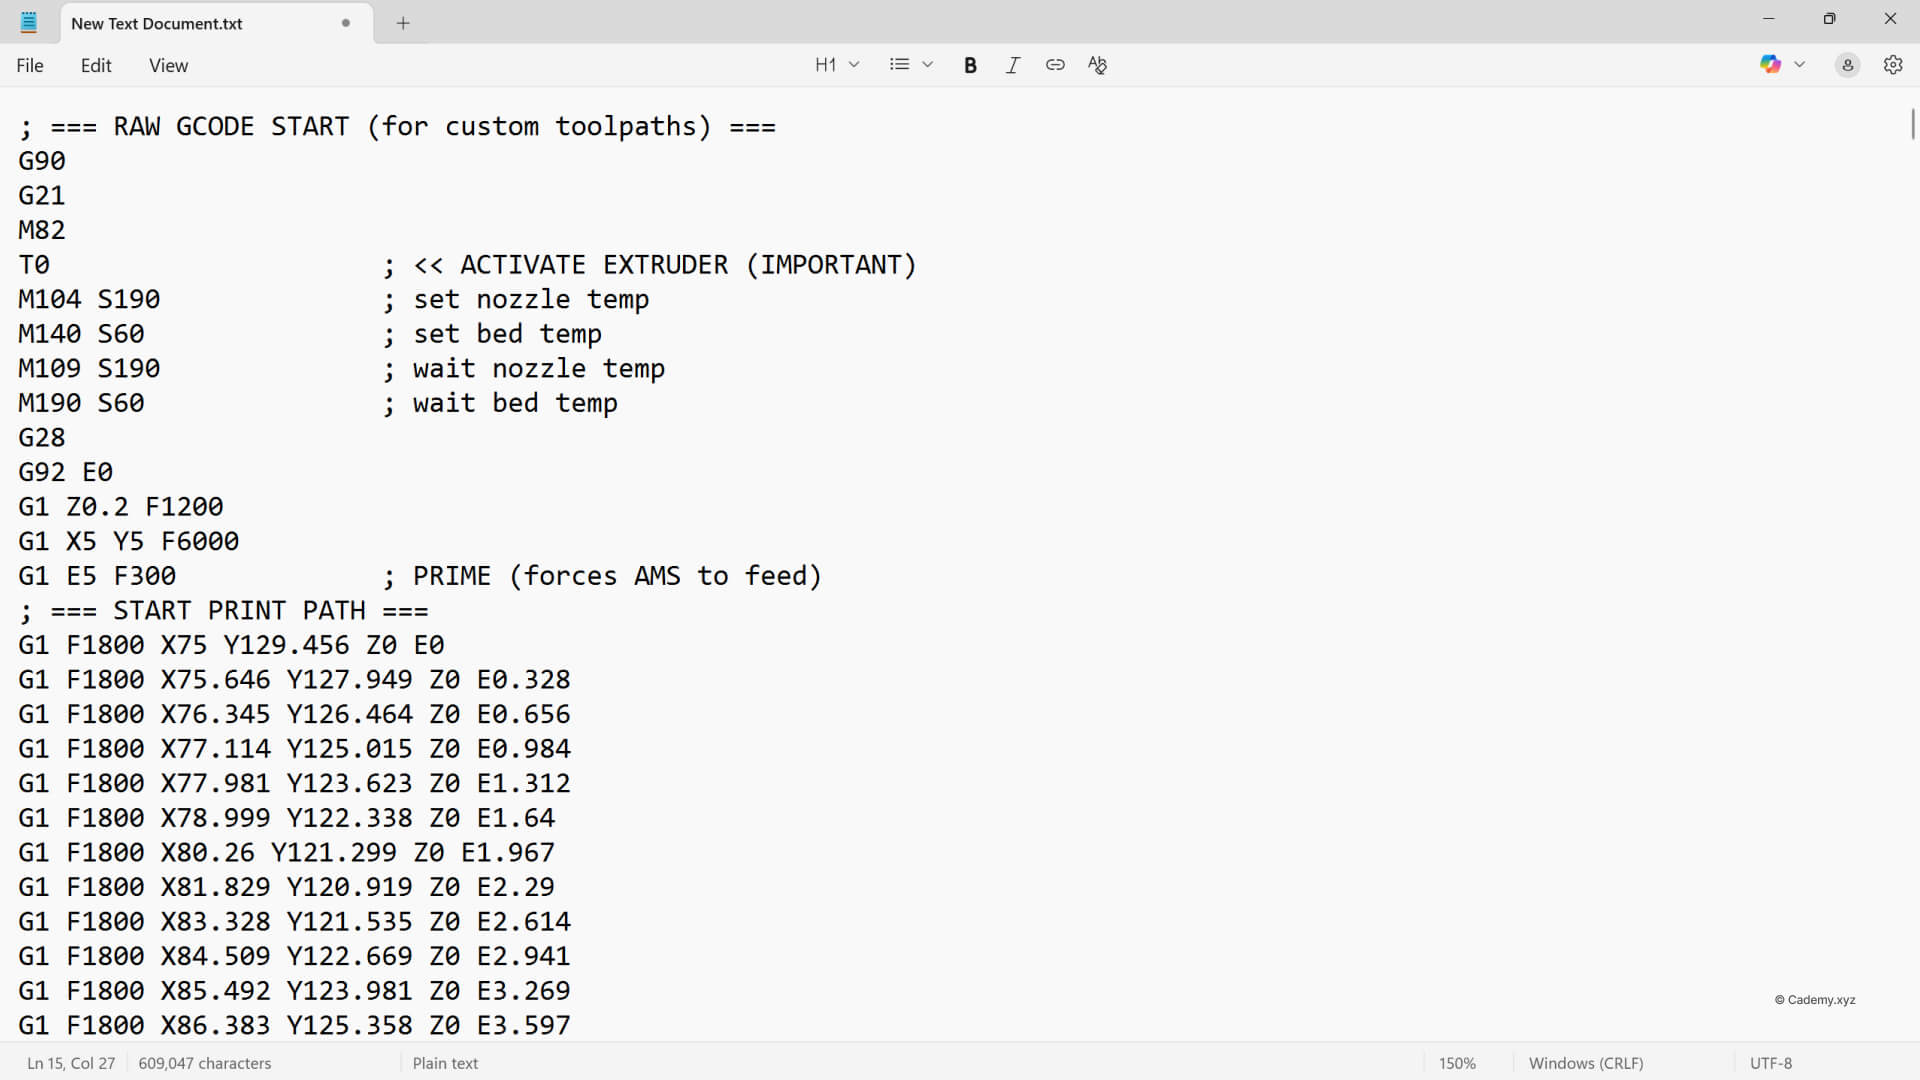
A minimalist polyline:
G1 F1800 X10 Y5 Z0 E0
G1 F1800 X99.123 Y197.89 Z0 E42.497
G1 F1800 X218.182 Y75.758 Z0 E76.609
G1 F1800 X110.064 Y95.159 Z0 E98.578
= Move to (10, 5, 0), extrude 1.2 mm of filament, at 1800 mm/min.
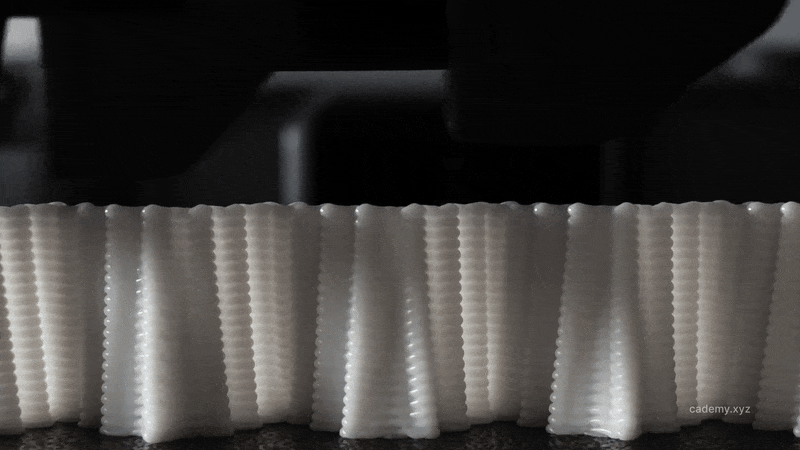
3. From Surface to Curves
We will start by importing our surface into Grasshopper and converting it into printable toolpaths.
- Use Contour to generate horizontal sections. A 0.35 mm layer height works well for this example.
- Divide each contour into 100 points (larger surfaces will require a higher point count)
- Optionally, displace the points along their normals to add a texture or pattern to the surface.
- Weave the points back into a polyline to reconstruct the toolpath curve.
- By the end of this step, you’ll have thousands of ordered points, ready to be transformed into clean G-code instructions.

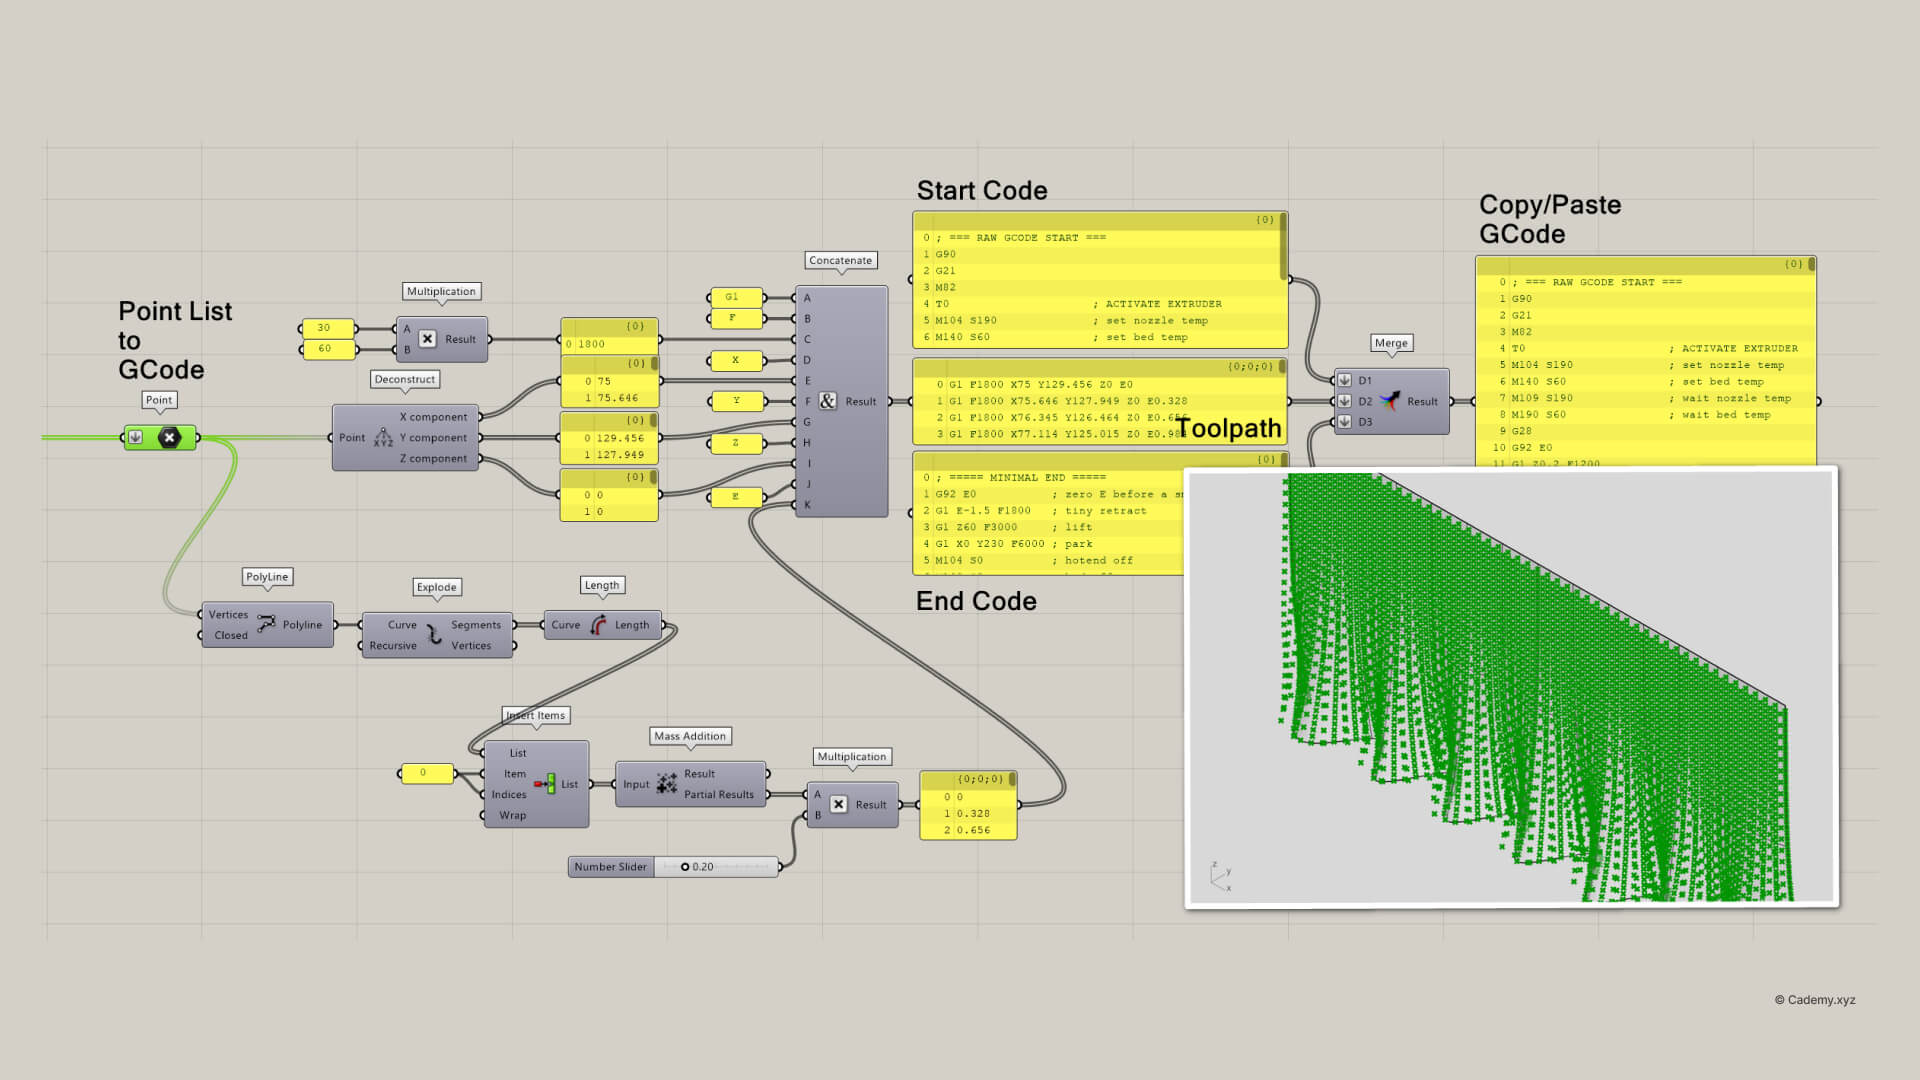
4. Bringing in G-Code
Grasshopper lets us turn our points into G-code using the Concatenate component.
The structure of each line is:
G1 F1800   ; (30 mm/s)
X# Y# Z#   ; coordinates
E#         ; extrusion based on segment length
Once the G-code lines are generated, Merge them with your Start G-code and End G-code
Grasshopper is the composer.
G-code is the sheet music.
Your 3D printer is the instrument.
5. Saving and Printing
Copy the G-code text from Grasshopper by right-clicking and selecting “Copy Data Only.” Paste it into a blank text file, save it as CademyXYZ.gcode (ensure the file extension is .gcode).
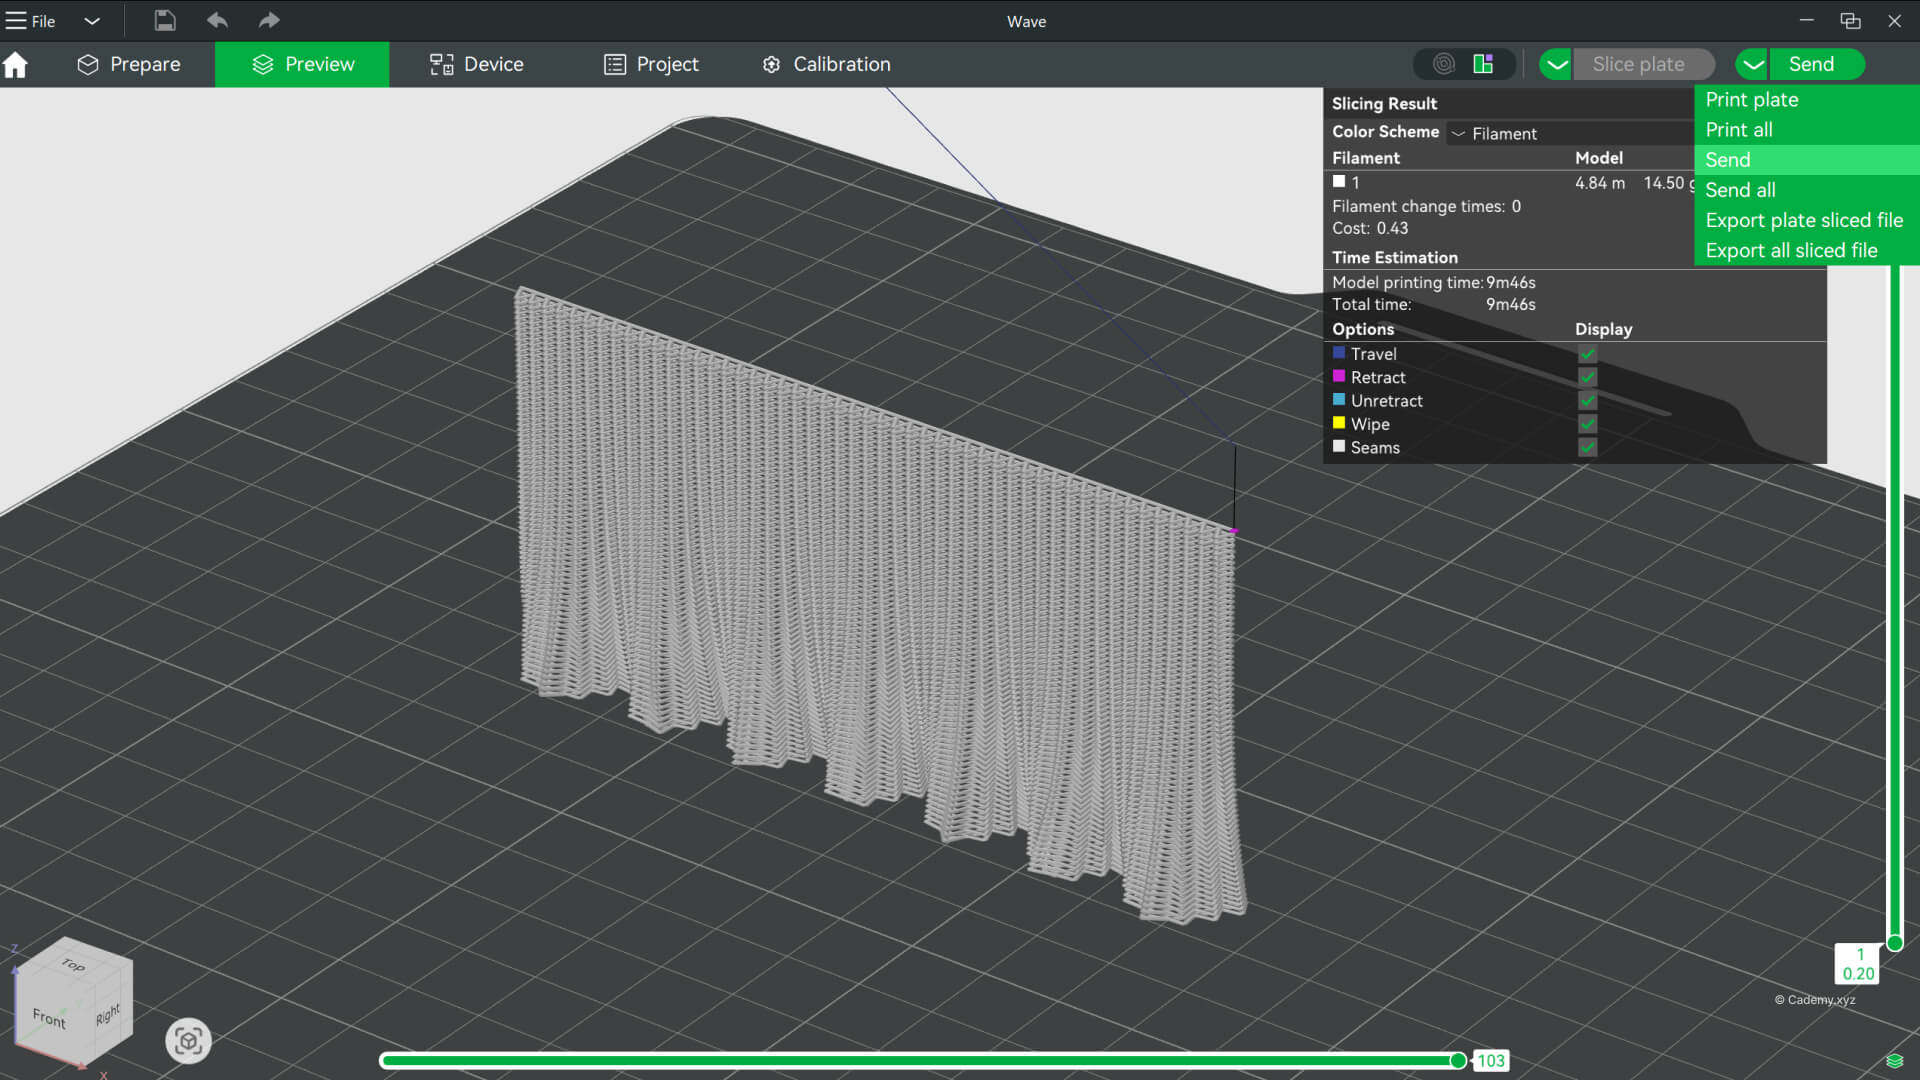
6. Send It to the Printer
- Drag and drop your
.gcodefile into Bambu Studio (or any slicer) to preview the toolpath. - Verify that the motion, layers, and start position look correct.
- Send the G-code remotely to your Bambu Lab printer OR
- Copy the file to the SD/SSD and load it directly on the printer.
- Check the AMS: the printer will default to Slot 1, so make sure to select the correct filament before starting the print.
AMS Rule (Bambu): Force-load Slot 1 before Printing G-code
If you’re running raw/custom G-code, manually load filament from AMS Slot 1 first.
Do this every time:
- On the printer, open AMS → Slot 1 → Unload → Load until the slot LED blinks.
- In Bambu Studio (or on the printer), make sure Slot 1 is the active filament.
- The printer may display a warning that the toolhead cover has fallen off. You can safely press Continue to proceed.
6. Common Beginner Pitfalls
Wrong scale
Always work in millimeters
No Z height
Set a Z value (e.g., Z0.2) before printing
No start code
Always home the machine (e.g., G28)
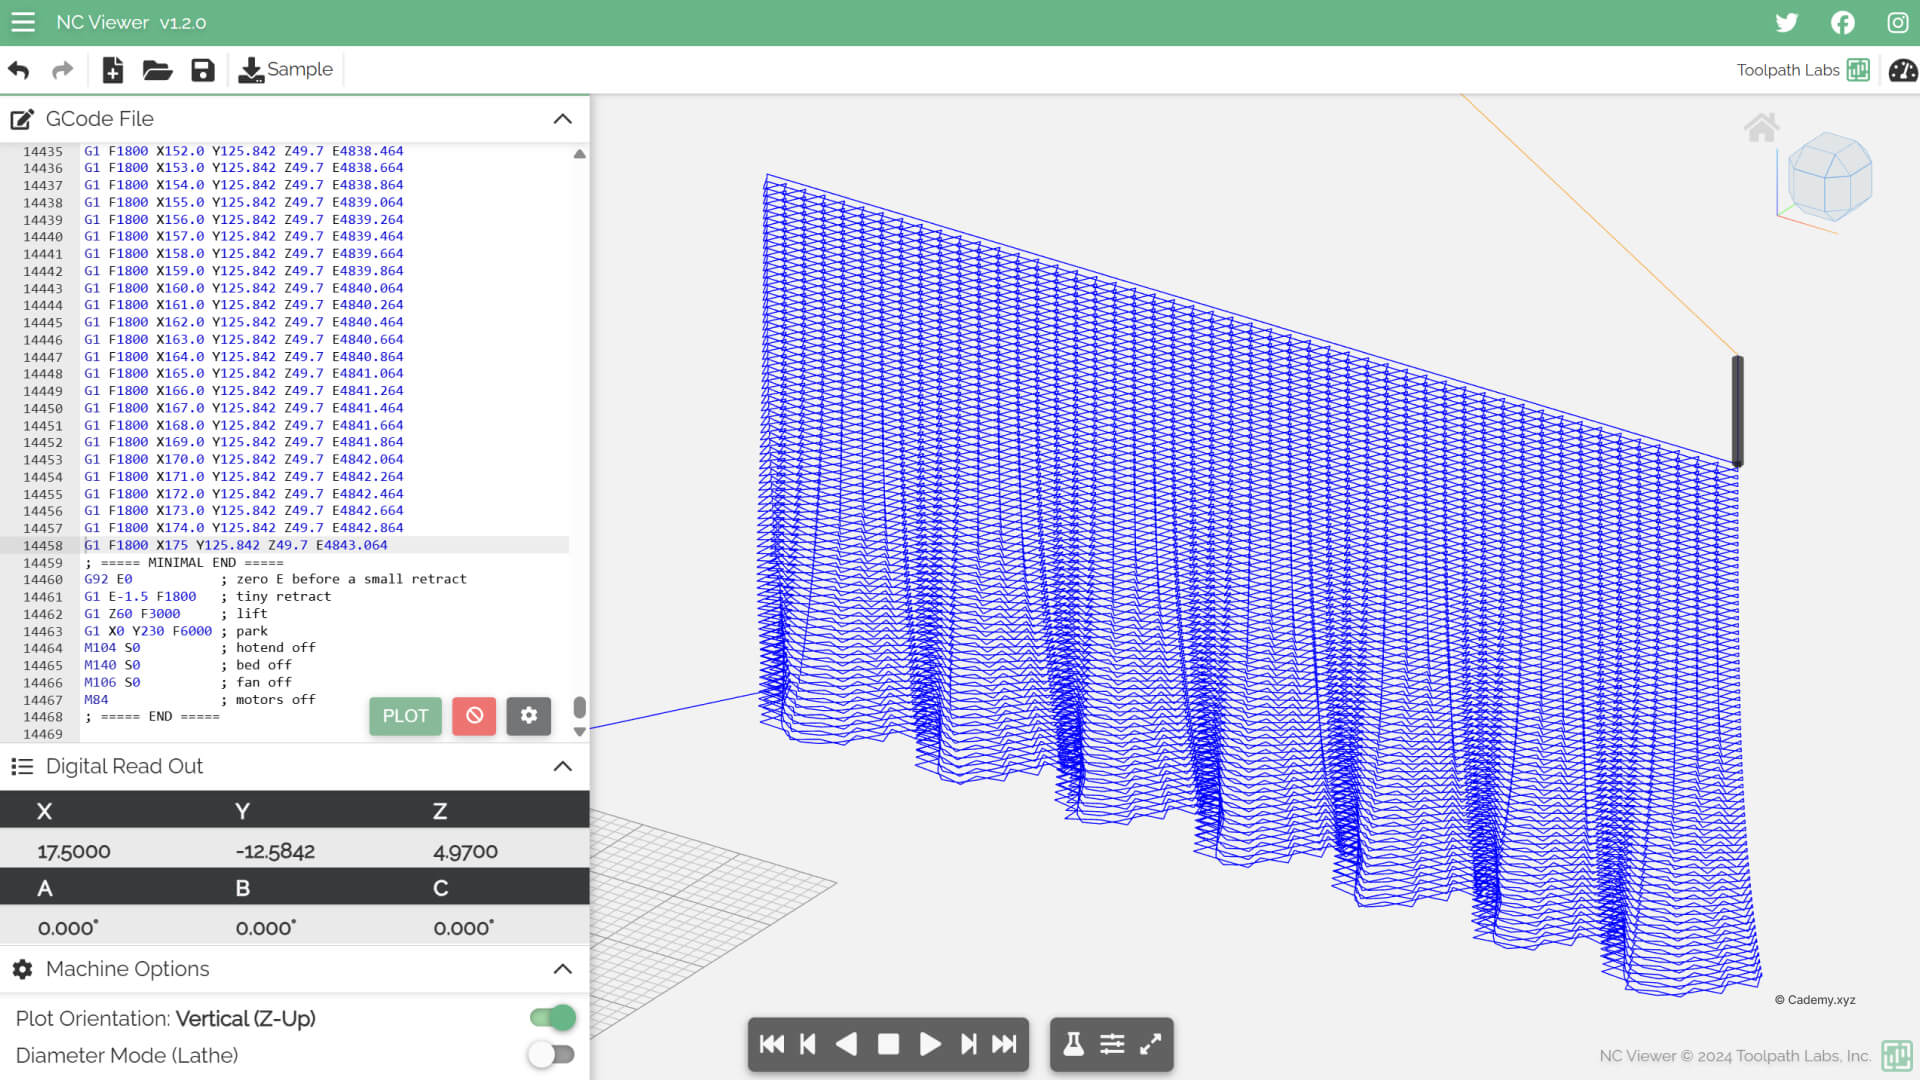
You can also use this tool called ncviewer.com
Conclusion
A 3D printer is a literal, obedient machine. It doesn’t guess or interpret — it follows coordinates with absolute precision. By turning Grasshopper geometry into points and points into G-code, you’ve learned the essence of digital fabrication: Code becomes motion, and motion becomes matter. You now speak just enough robot to create something real :)
