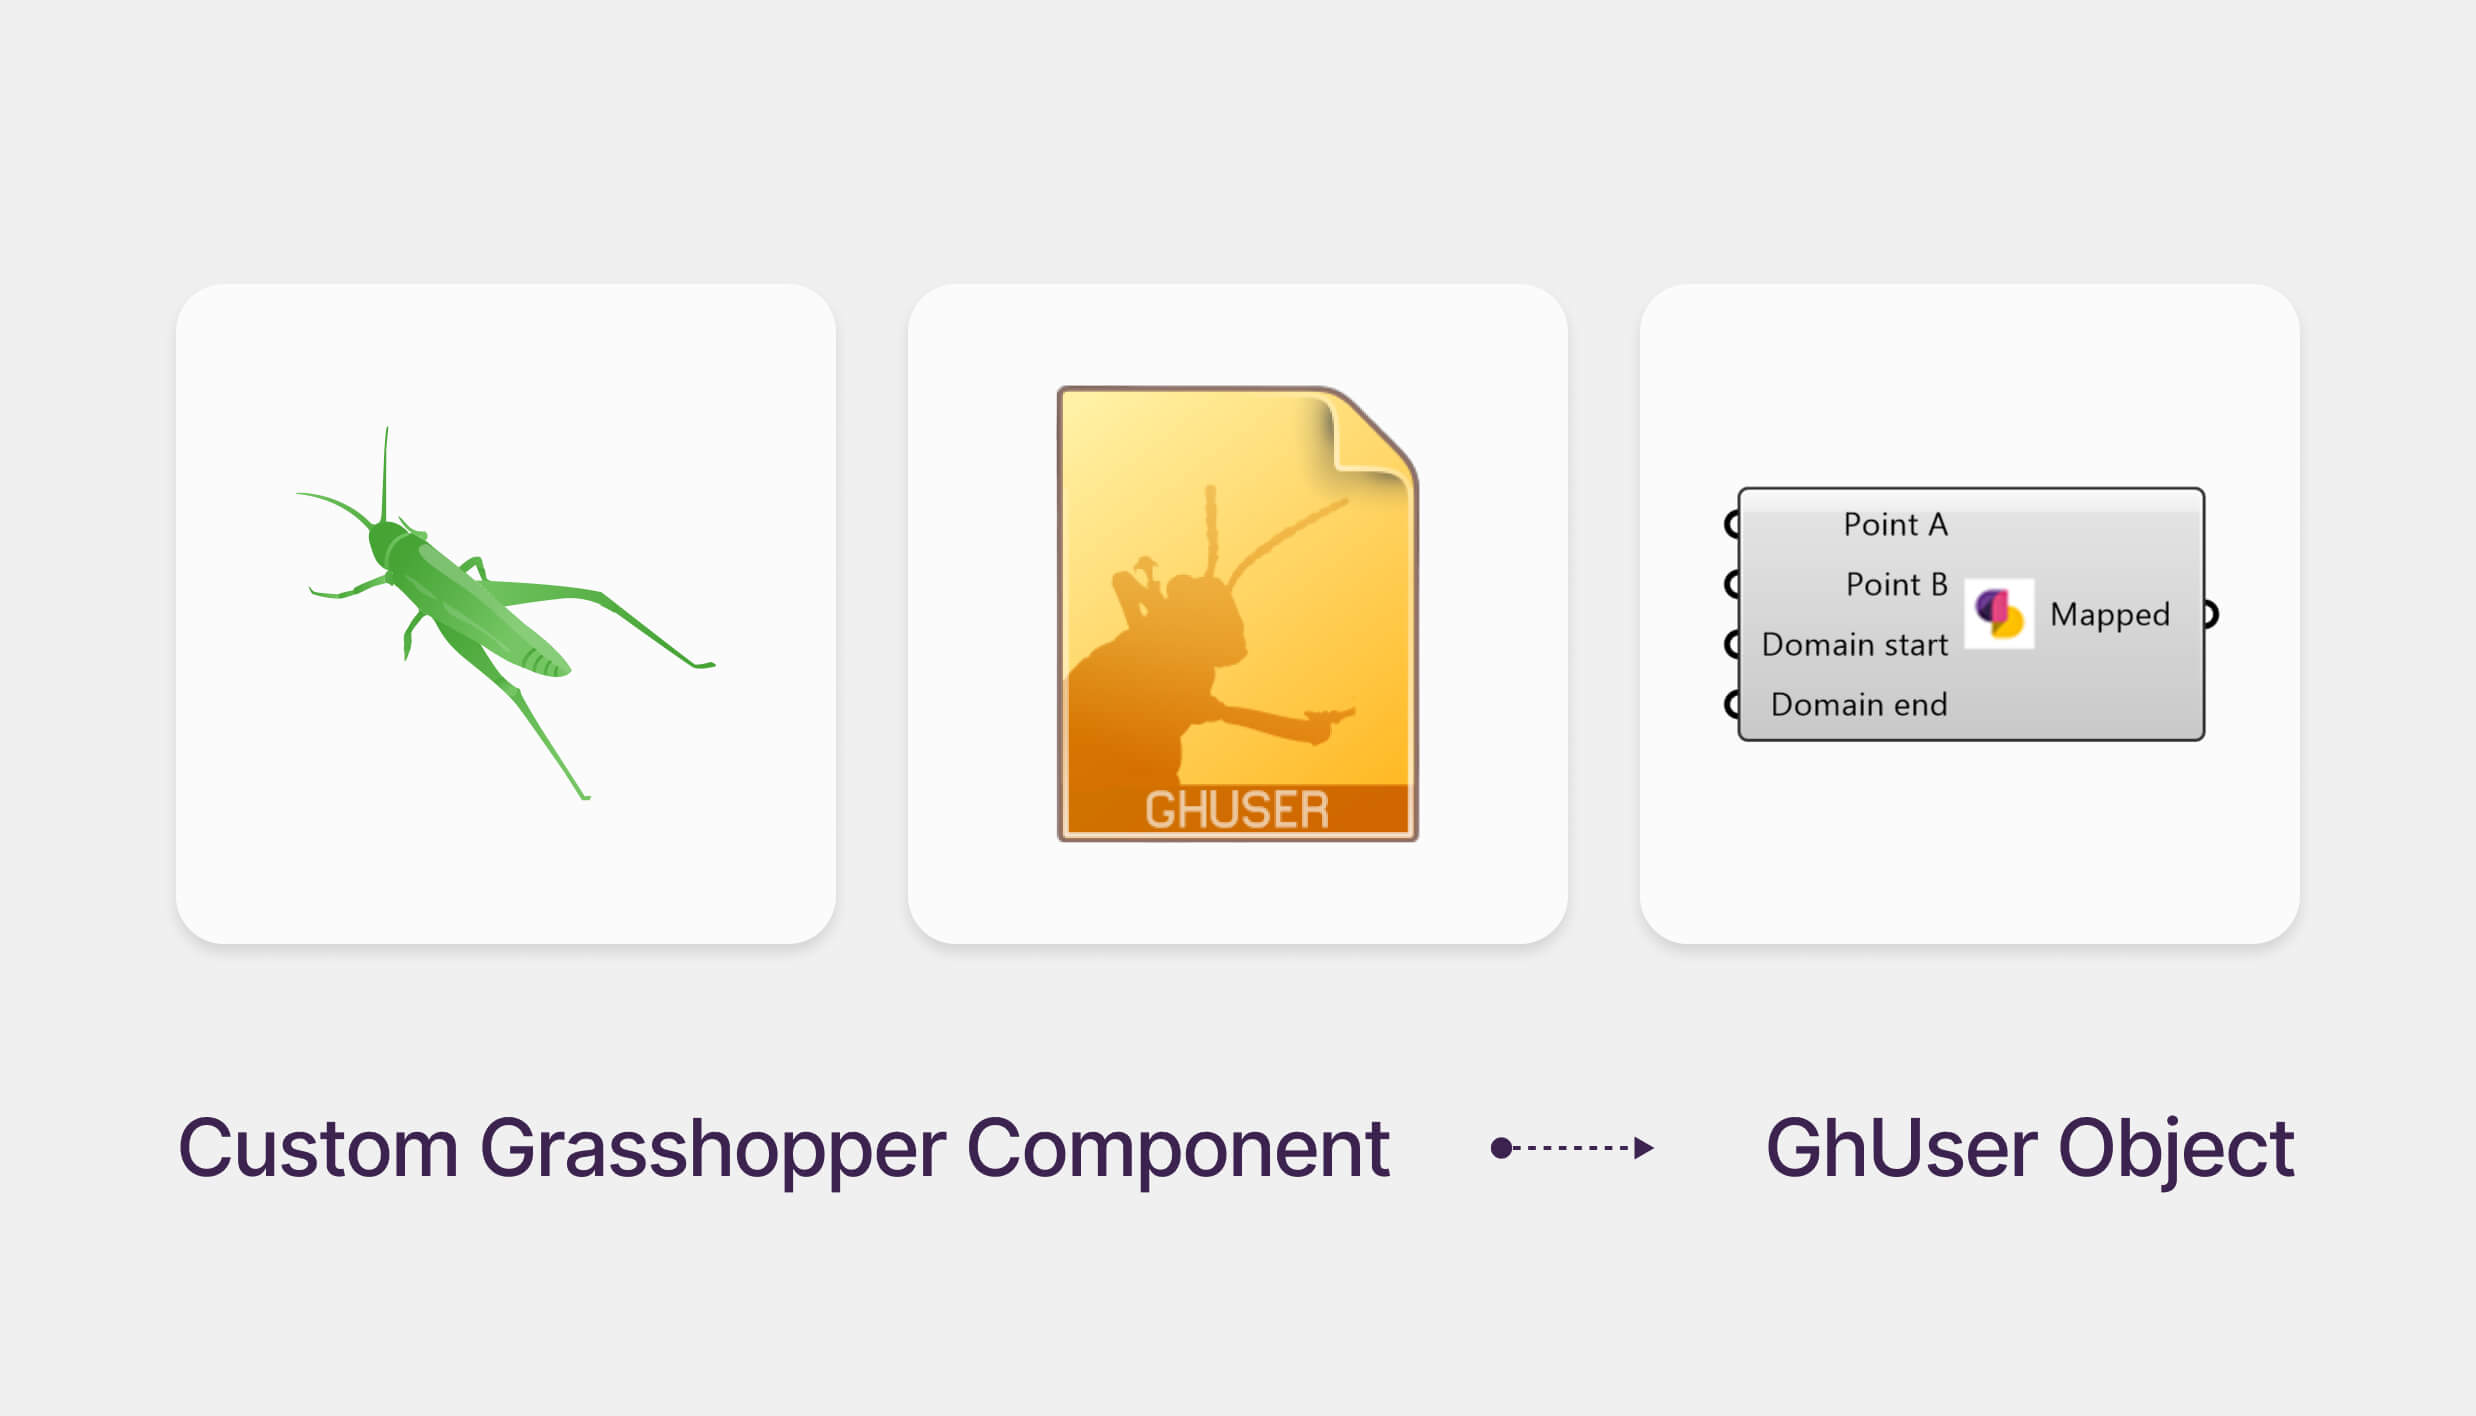
Creating Reusable Components in Grasshopper with GhUser Object

Create reusable, modular tools in Grasshopper using Clusters and GhUser Objects.
If you find yourself repeatedly building the same logic in Grasshopper, it's time to simplify your workflow. Creating custom user objects (GhUser components) not only helps you reuse your work but also keeps your canvas clean and easier to navigate. In this quick tutorial, we’ll walk through creating a basic attractor logic and converting it into a custom component.
Step 1: Create a Basic Attractor Setup
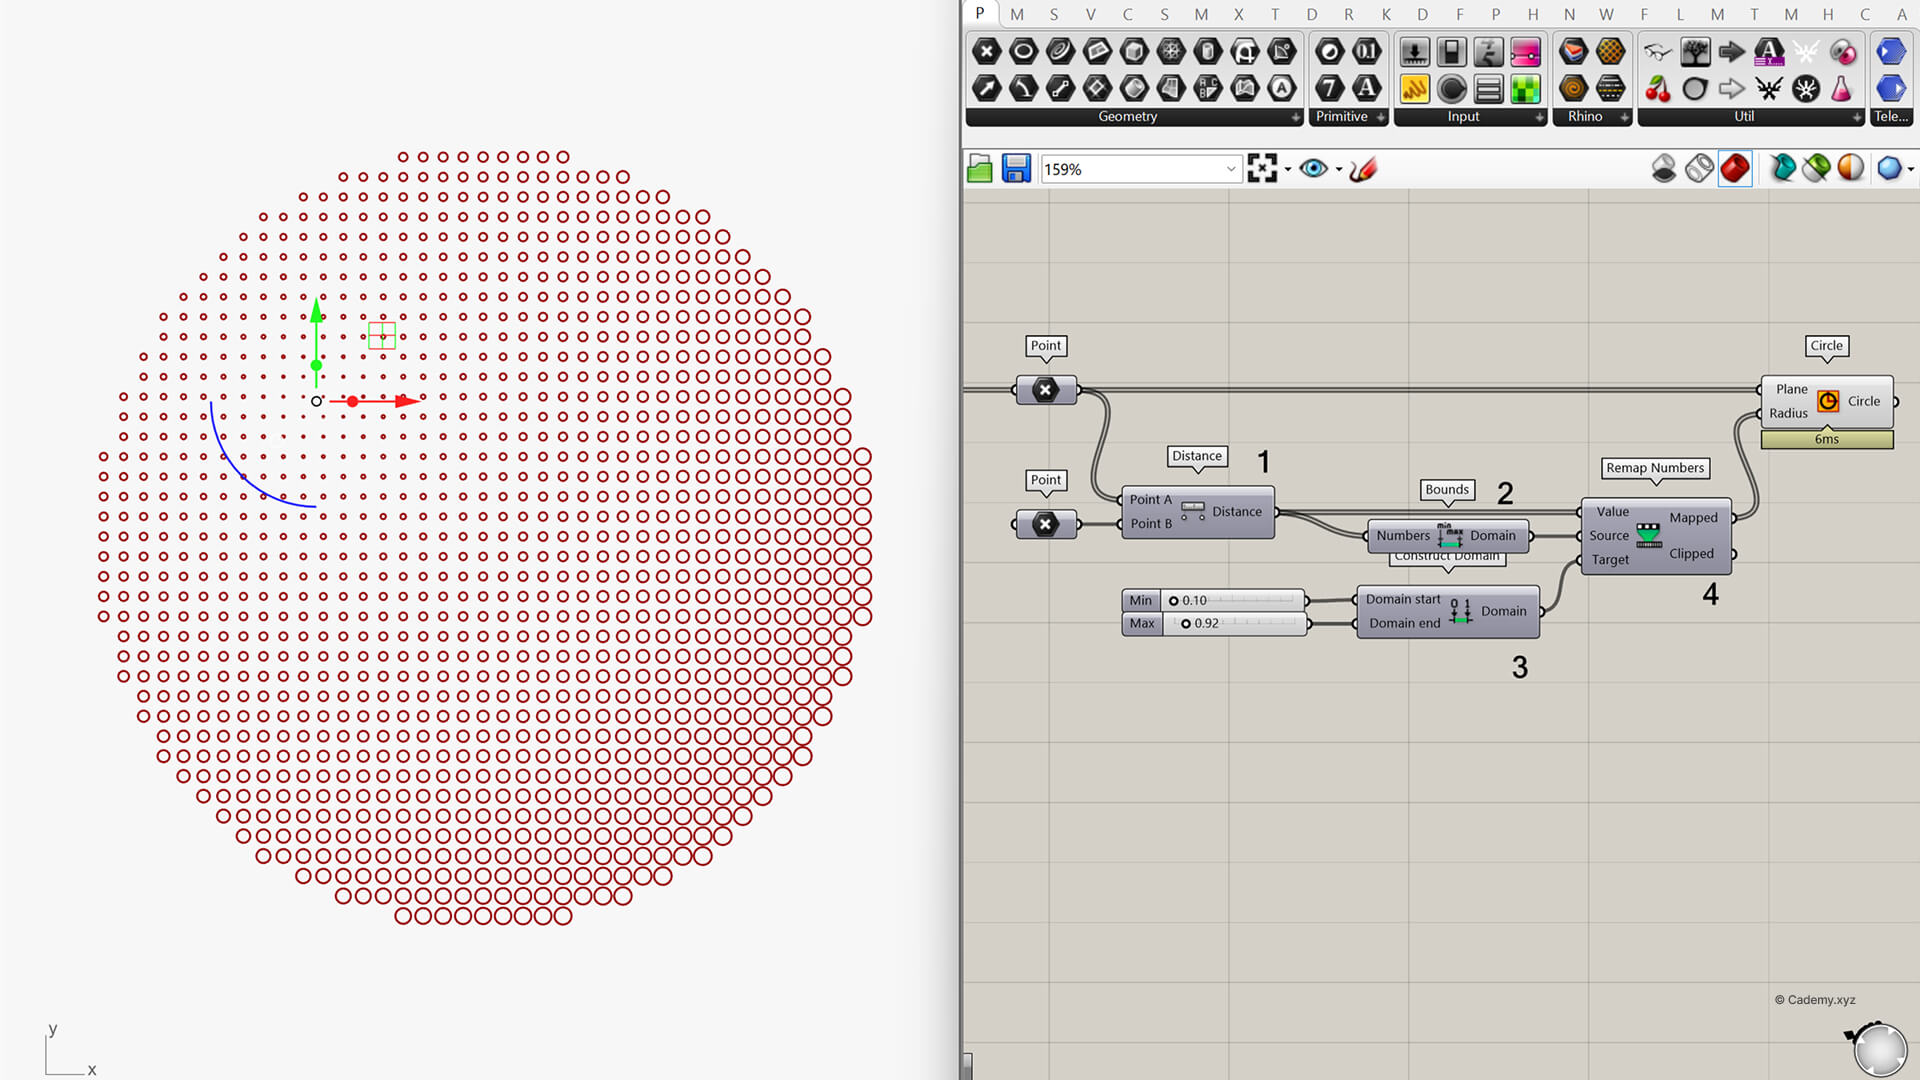
We start with a classic setup: a grid of circles whose radii are influenced by the proximity to a point (the attractor).
In the image, you can see this simple attractor setup made with four core components:
- Distance – Calculates the distance between the attractor point and the grid points.
- Remap Numbers – Normalizes and remaps the distance values.
- Bounds – Defines the min & max of the list.
- Construct Domain – Defines the remapping range.
This setup is functional but takes up space on the canvas and gets repetitive if you need it in multiple projects.
Step 2: Group and Cluster the Components
To streamline this, select the four components.
Press the middle mouse button to open the radial menu and select Cluster.
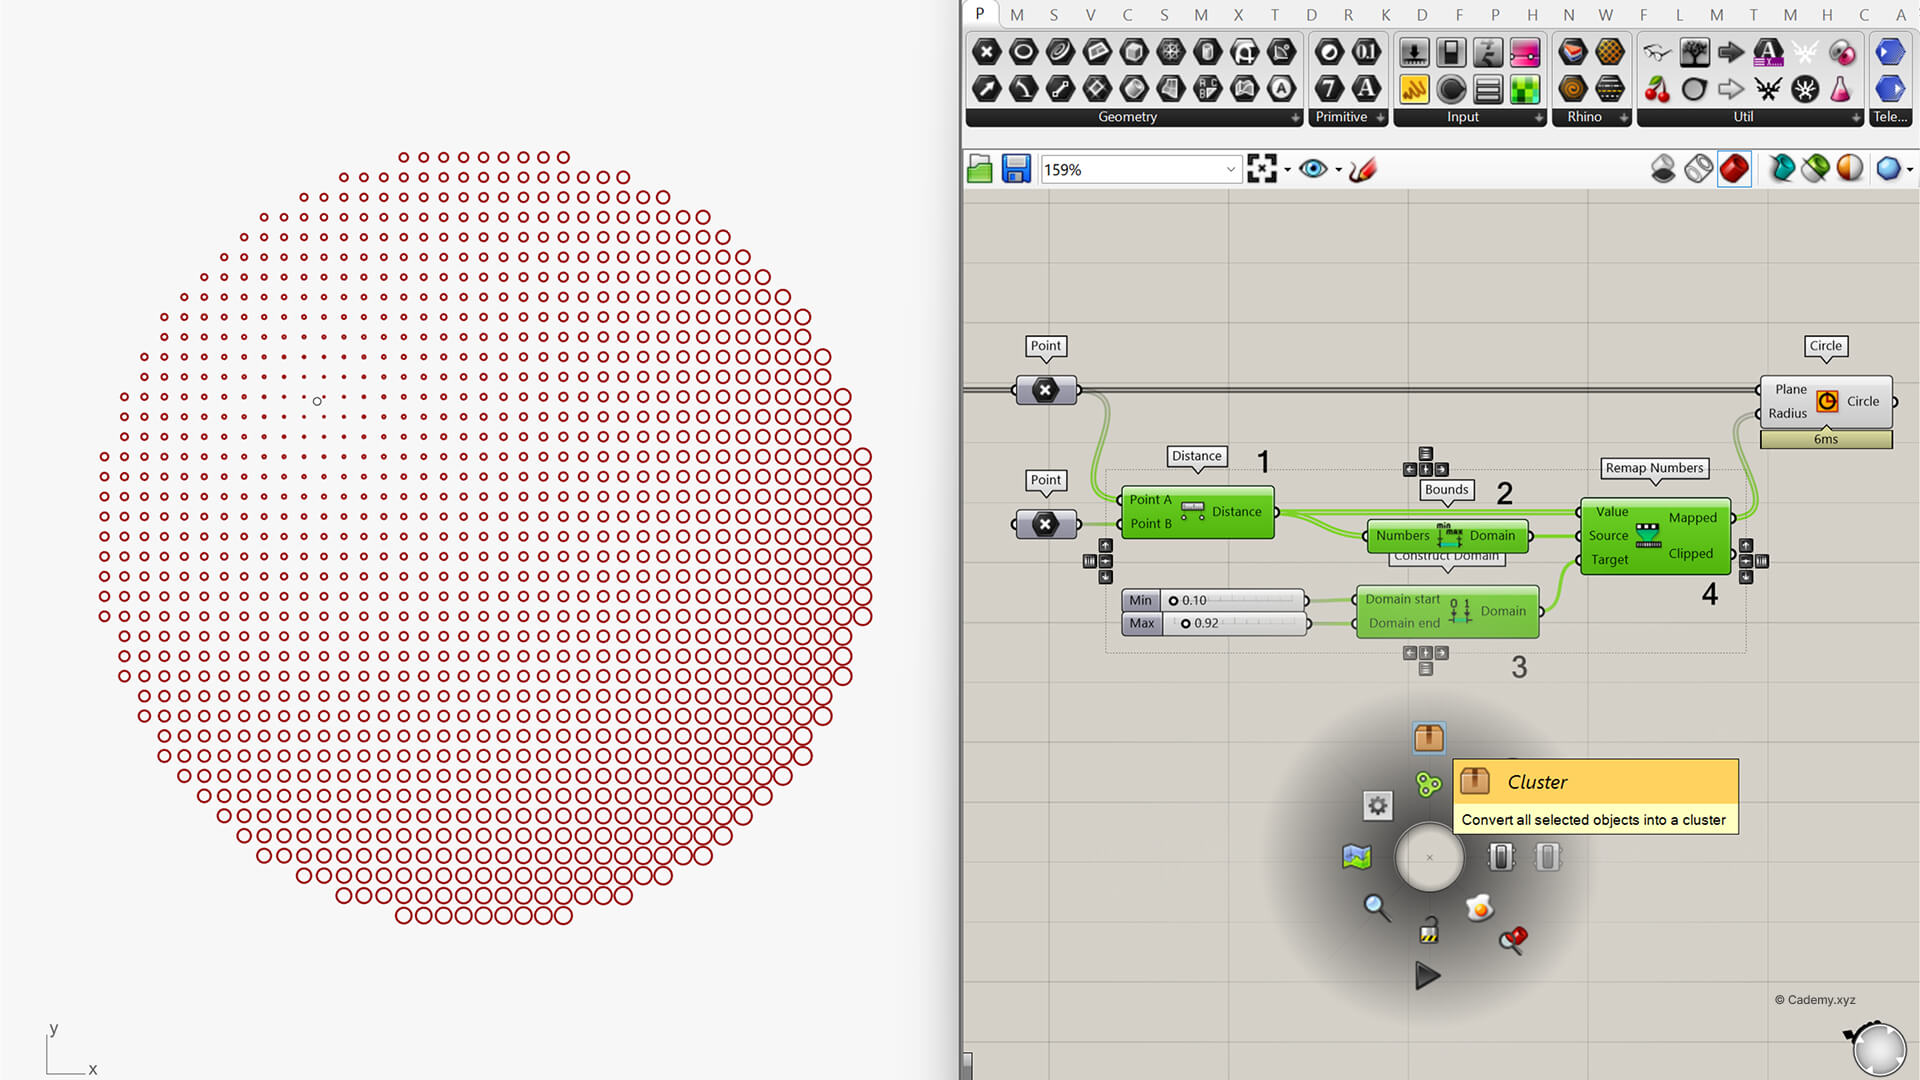
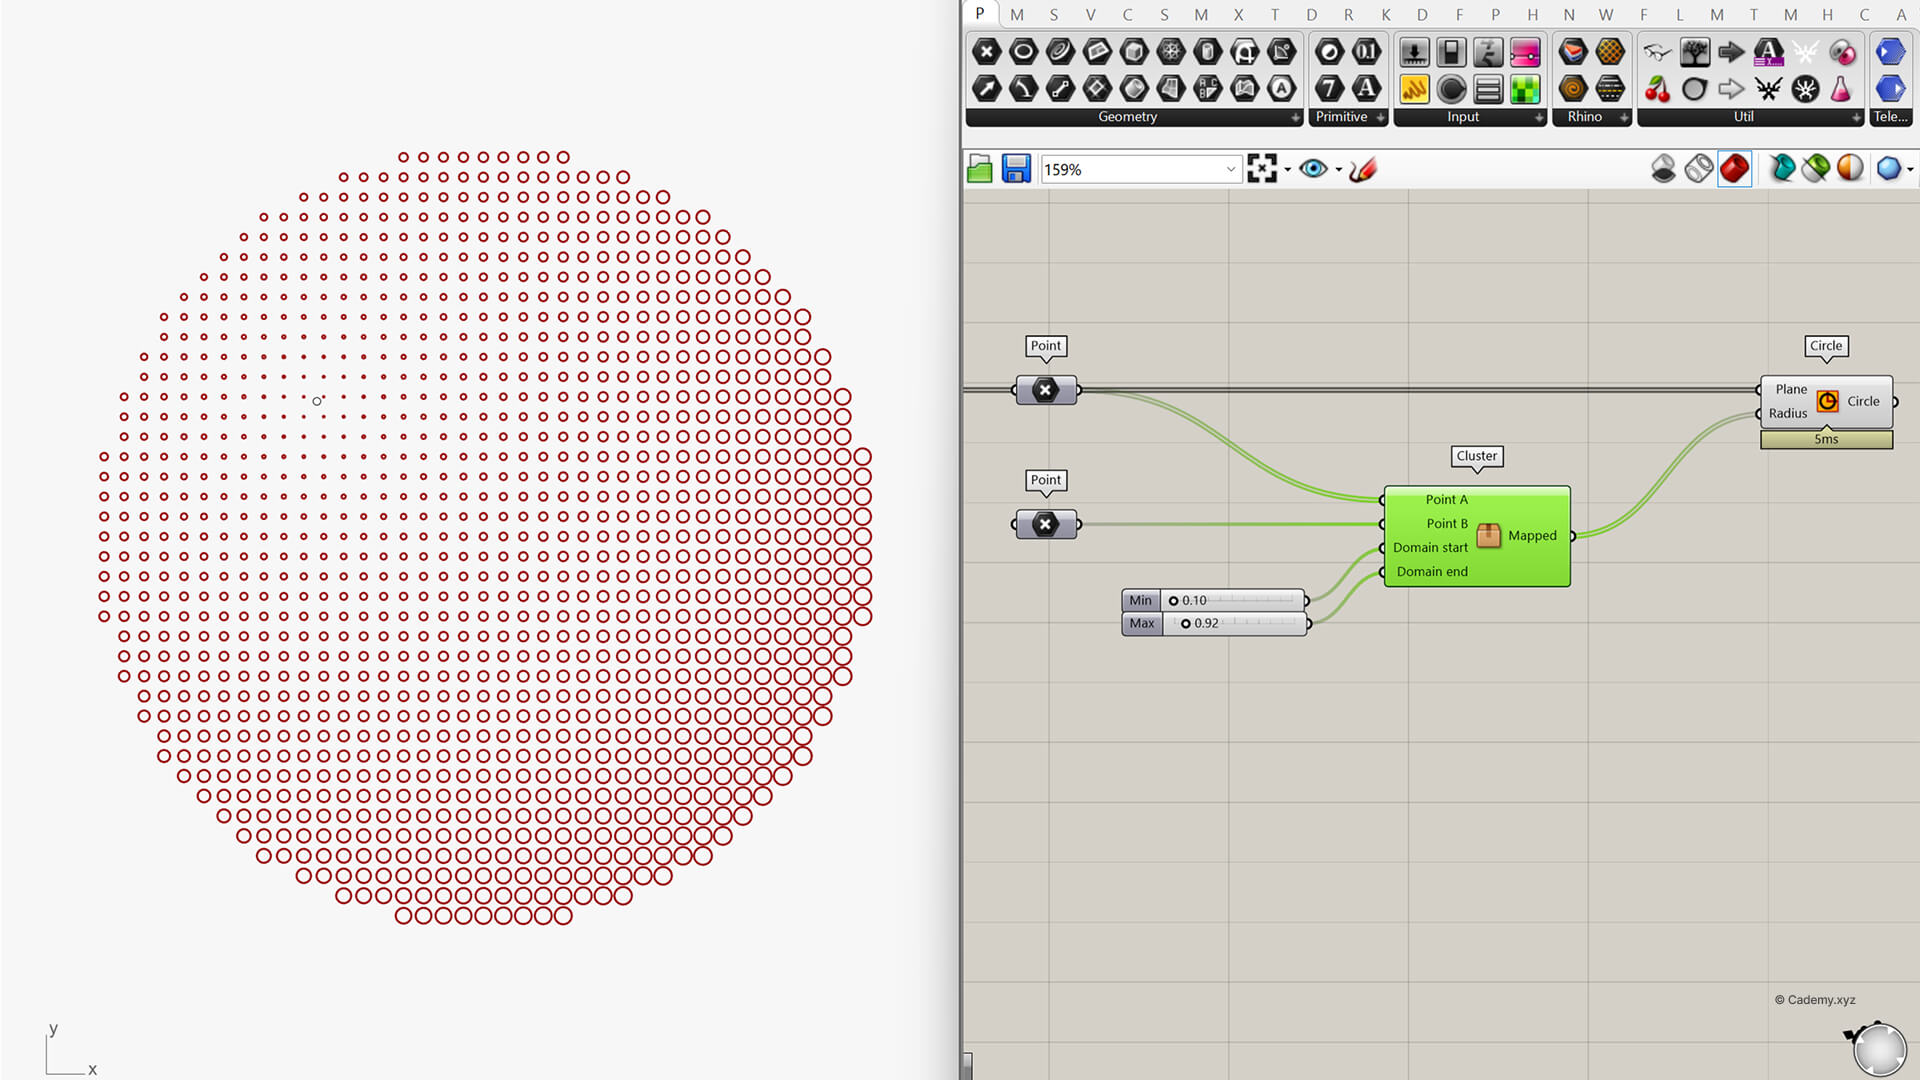
Step 3: Cluster Component
This bundles all the logic into a single, compact cluster component.
You can double click the component and further edit the internal logic. You can also right click and explode the cluster to un-cluster the logic.
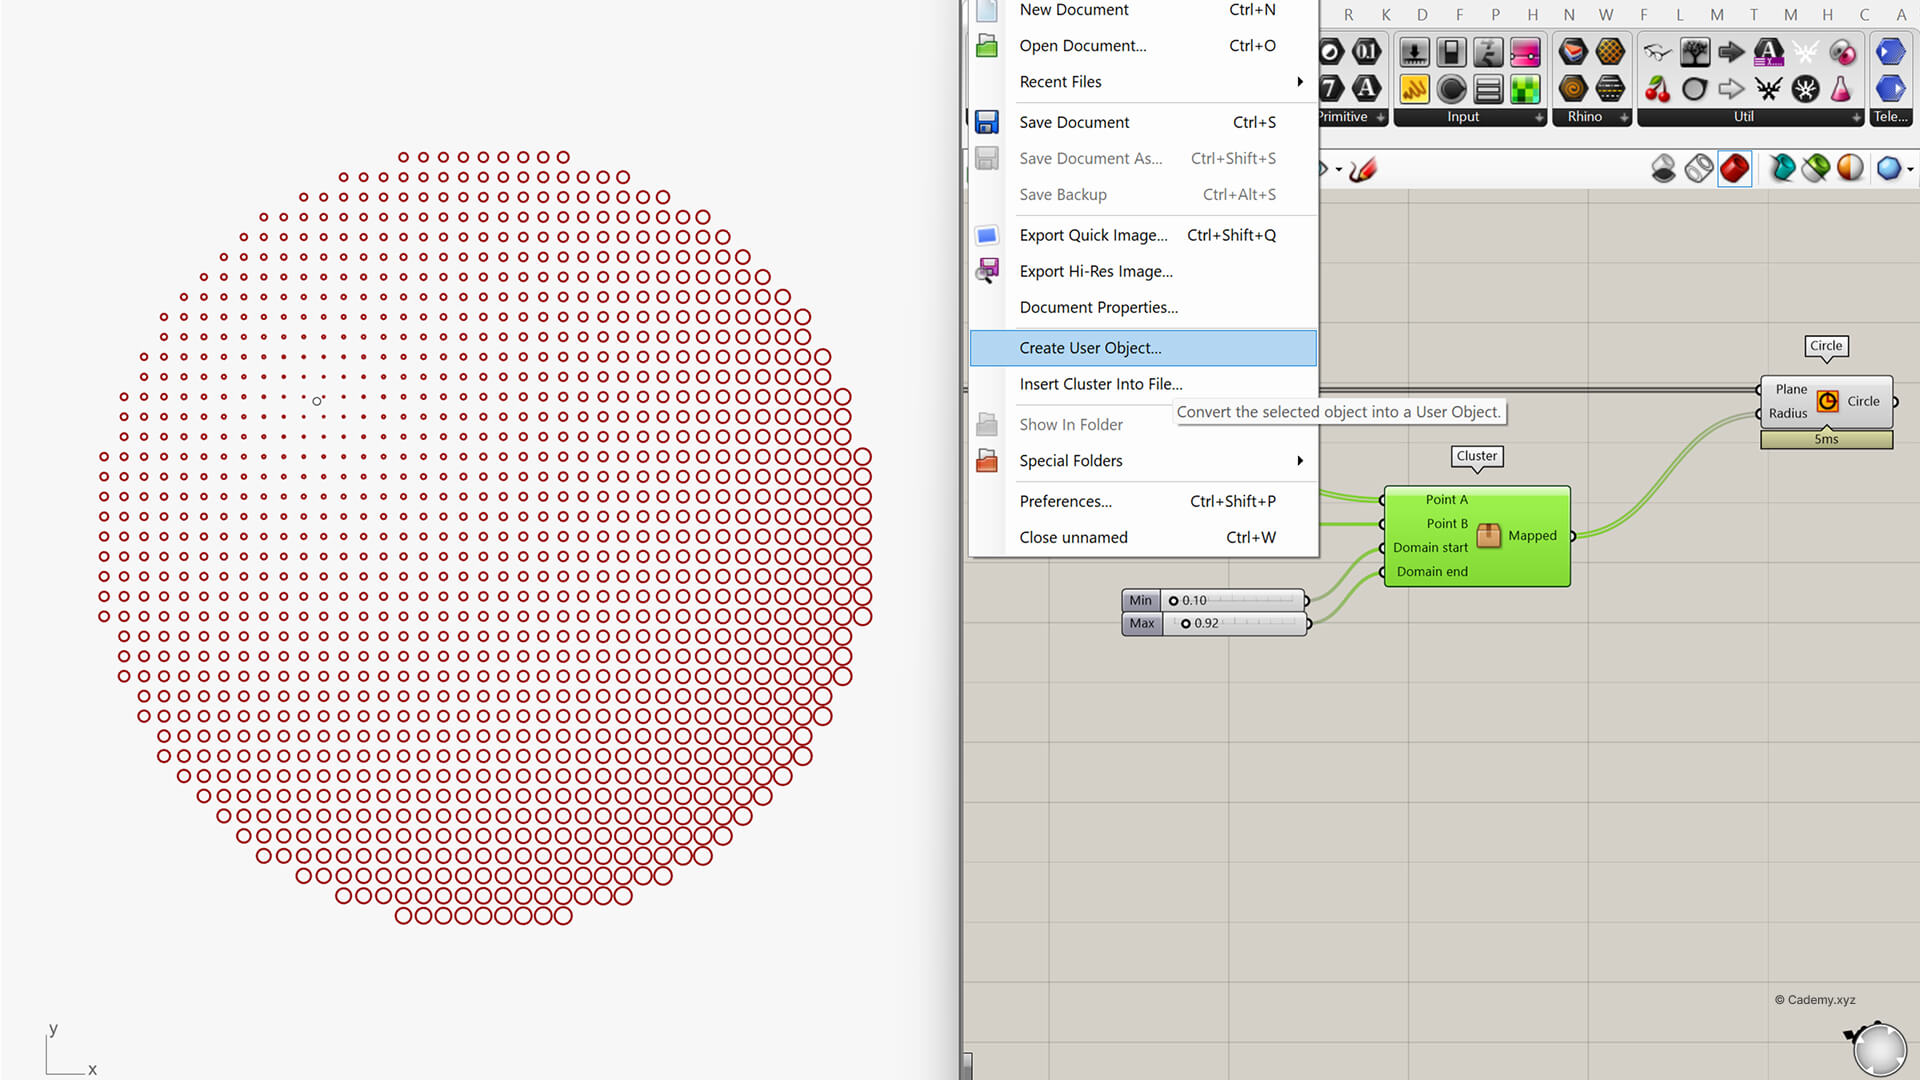
Step 4: Export the Cluster as a User Object
Next, select your new cluster.
Navigate to File > Create User Object.
This opens the user object settings window, where you can customize your new component.
Step 5: Export the Cluster as a User Object
Now, let's define the GhUser obejct parameters:
- Name: Give your component a clear title (e.g., Cademy Attractor).
- Nickname: Used for display on the canvas.
- Description: Write a short explanation (e.g., "Automate attractor workflow").
- Category / Sub-Category: Define where the component will appear in the Grasshopper toolbar.
- Icon: Optionally, upload a custom icon to identify it visually.
Click OK when you're done.

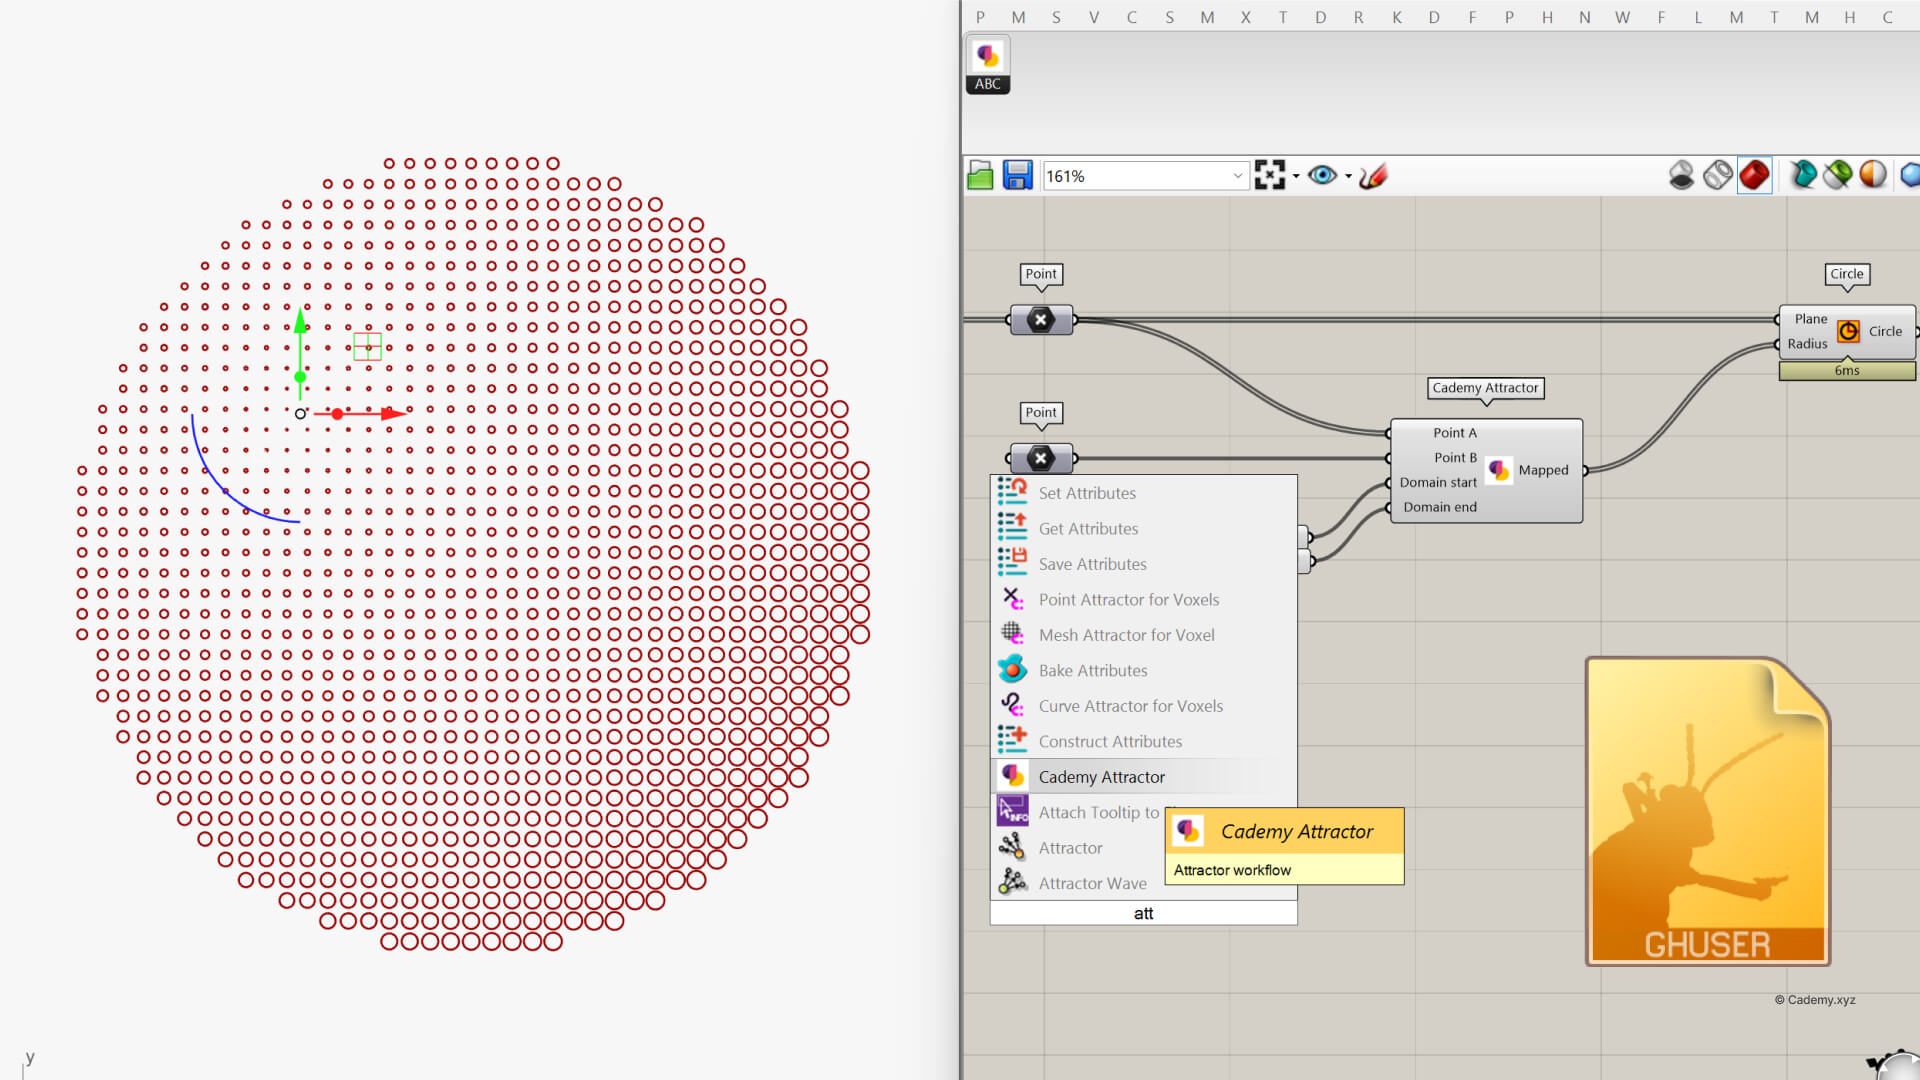
Step 6: Use Your GhUser Component
Your custom attractor component now appears in the toolbar under your specified category—or you can find it via the search bar.
Just drag and drop it like any other Grasshopper component.
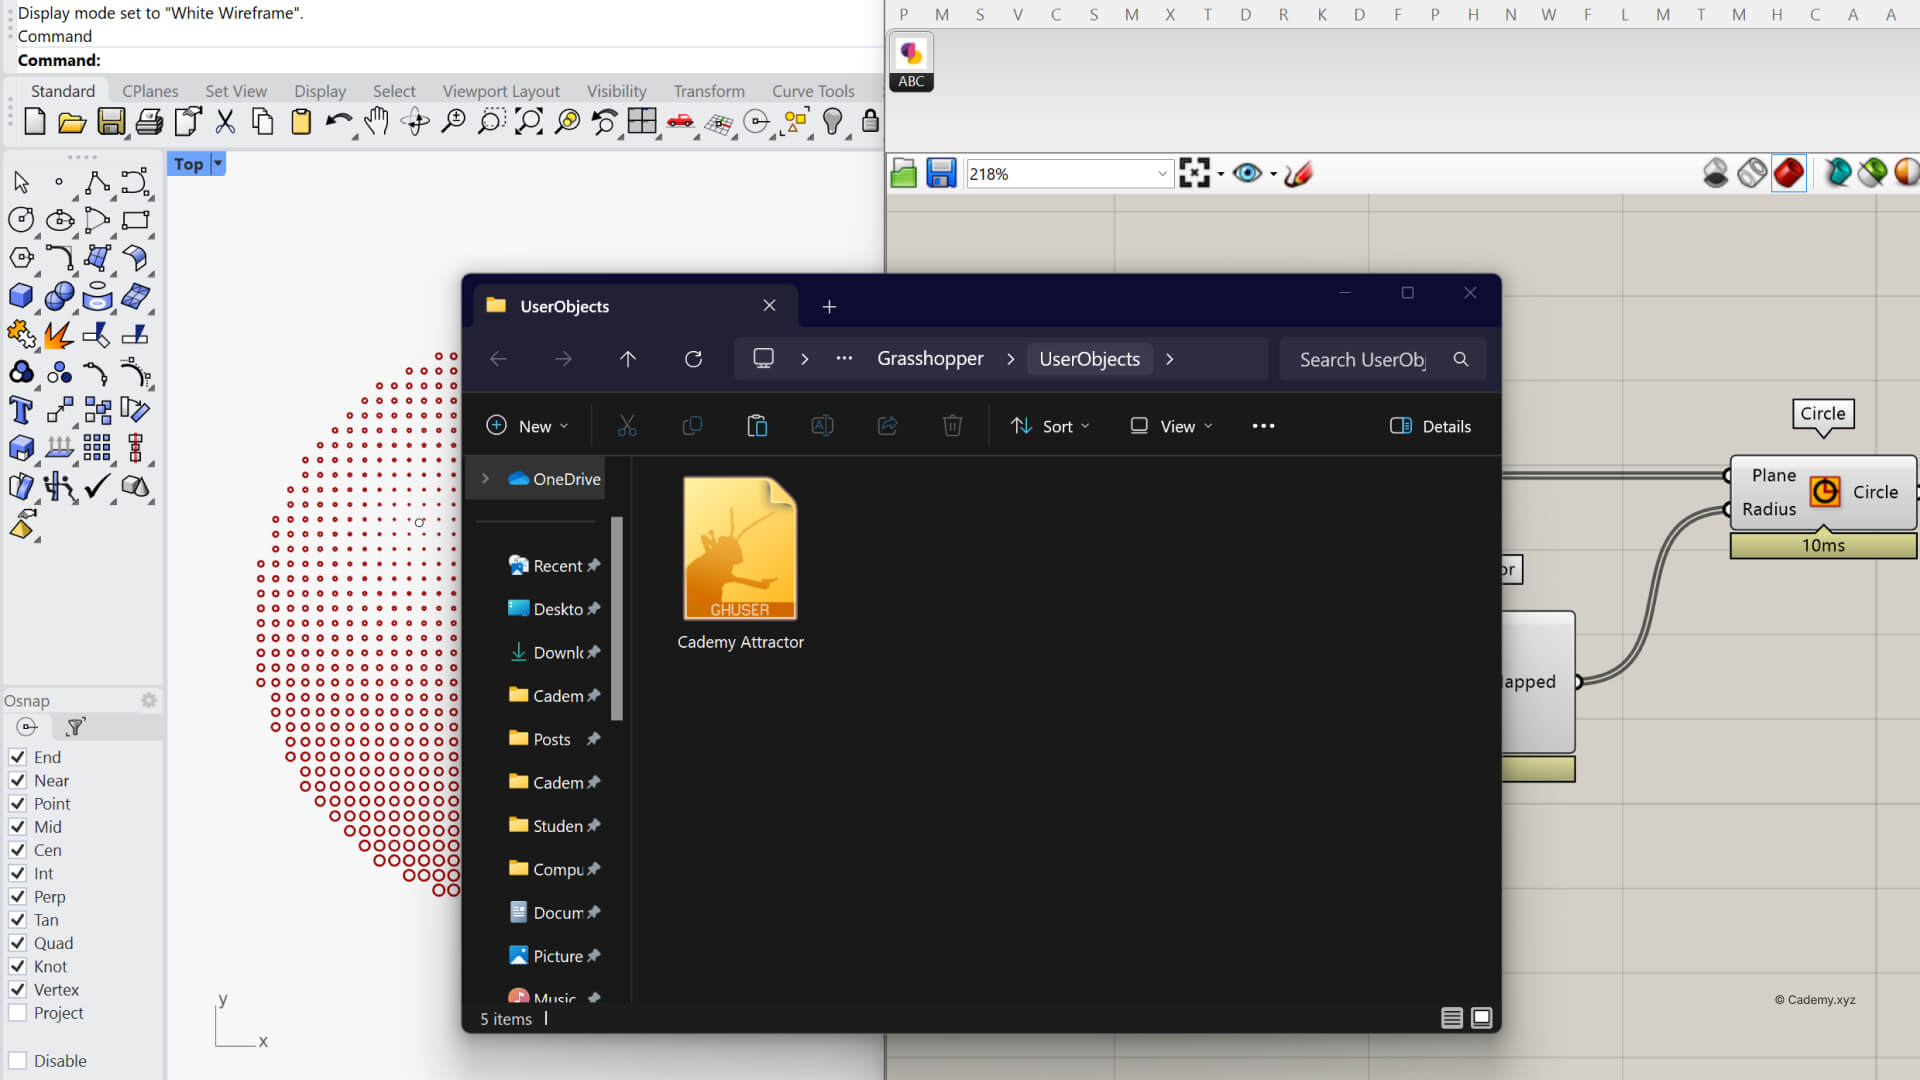
Step 7: Share or Delete the GhUser File
Want to share this component with your team or the community?
Locate the .ghuser file inside Grasshopper’s User Objects folder (you can find this under File > Special Folders > User Object Folder). Share the file with others, or delete it if it’s no longer needed.
Why Use GhUser Objects?
- Save Time: No need to rebuild common logic every time.
- Stay Organized: A cleaner, modular canvas.
- Custom Branding: Add icons, descriptions, and categorize your tools.
- Collaboration Friendly: Share your components easily.
By using clusters and GhUser objects, you’re not just optimizing your own workflow—you’re building a personalized toolkit that can scale with your projects.
Excellent teaching flow
Incredibly clear and helpful flow of information. Can be a bit confusing learning a new program, but the way Aman sets it all up and connects the dots is huge. This was so much better than slogging through YouTube tutorials that can be very hit or miss.
Give it a try and start creating your own Grasshopper plugin ecosystem!
