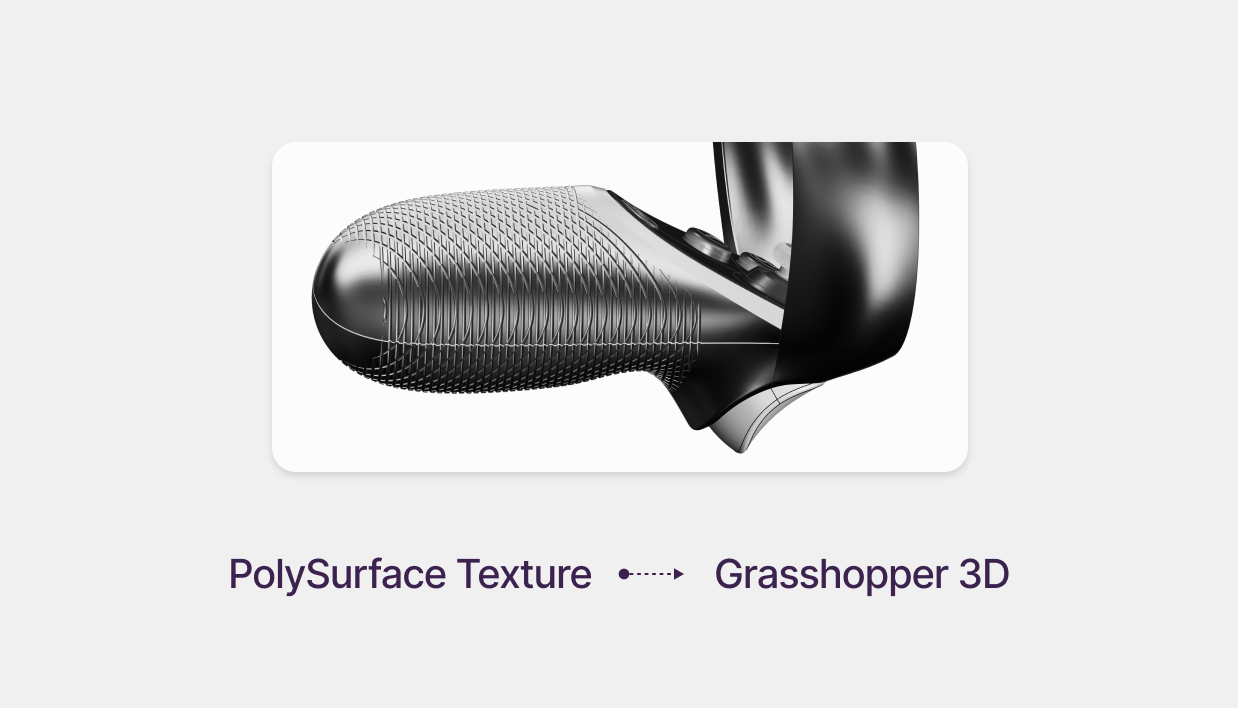
How to Apply Texture to a Polysurface in Rhino 3D & Grasshopper

Download Files
In this tutorial, we’ll explore how to apply dynamic textures to a Quest VR Remote Controller model using Rhino 3D and Grasshopper. By following this structured workflow, you'll learn how to enhance surface details on a real-world product using parametric tools.
Step 1: Import the Quest VR Controller Model into Rhino
- Import the STEP file of the Quest VR Remote Controller into Rhino.
- Ensure the model is properly oriented for easy access to the surfaces you want to texture.
- Align the controller along the world axis for better precision when applying textures.
Official Quest VR Reference - Meta.com
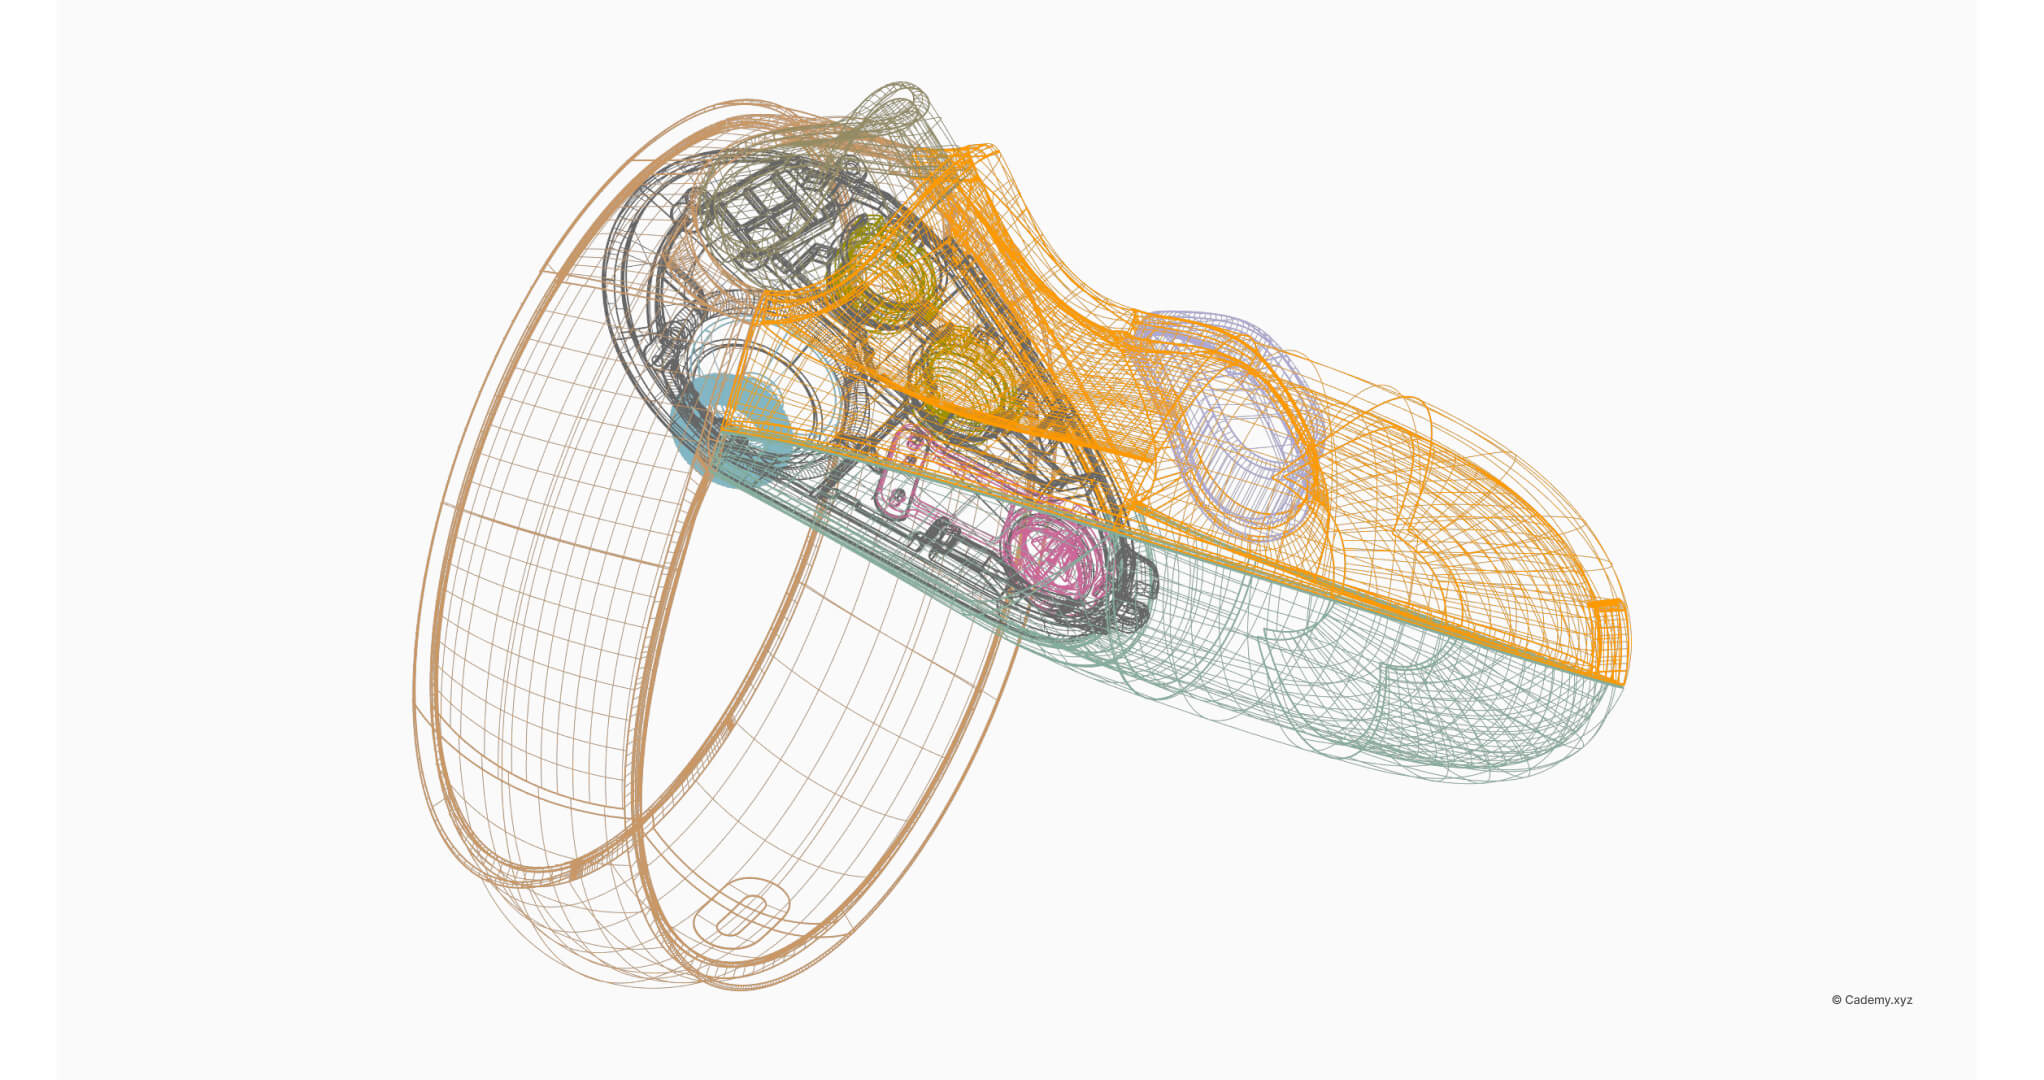
Step 2: Isolate the Targeted Surfaces for Texturing
Isolate the Targeted Surfaces on the ControllerTo apply the texture, first isolate the specific areas on the remote where you want the texture to appear. This could include the handle for added grip, the thumb rest, or decorative patterns on the controller body. Begin by exploding the polysurface model into individual components. Select the areas of interest (such as the handle or the grip zone) and join them together as one surface. Hide the other parts of the controller (such as the buttons) that will not be textured for better visibility.
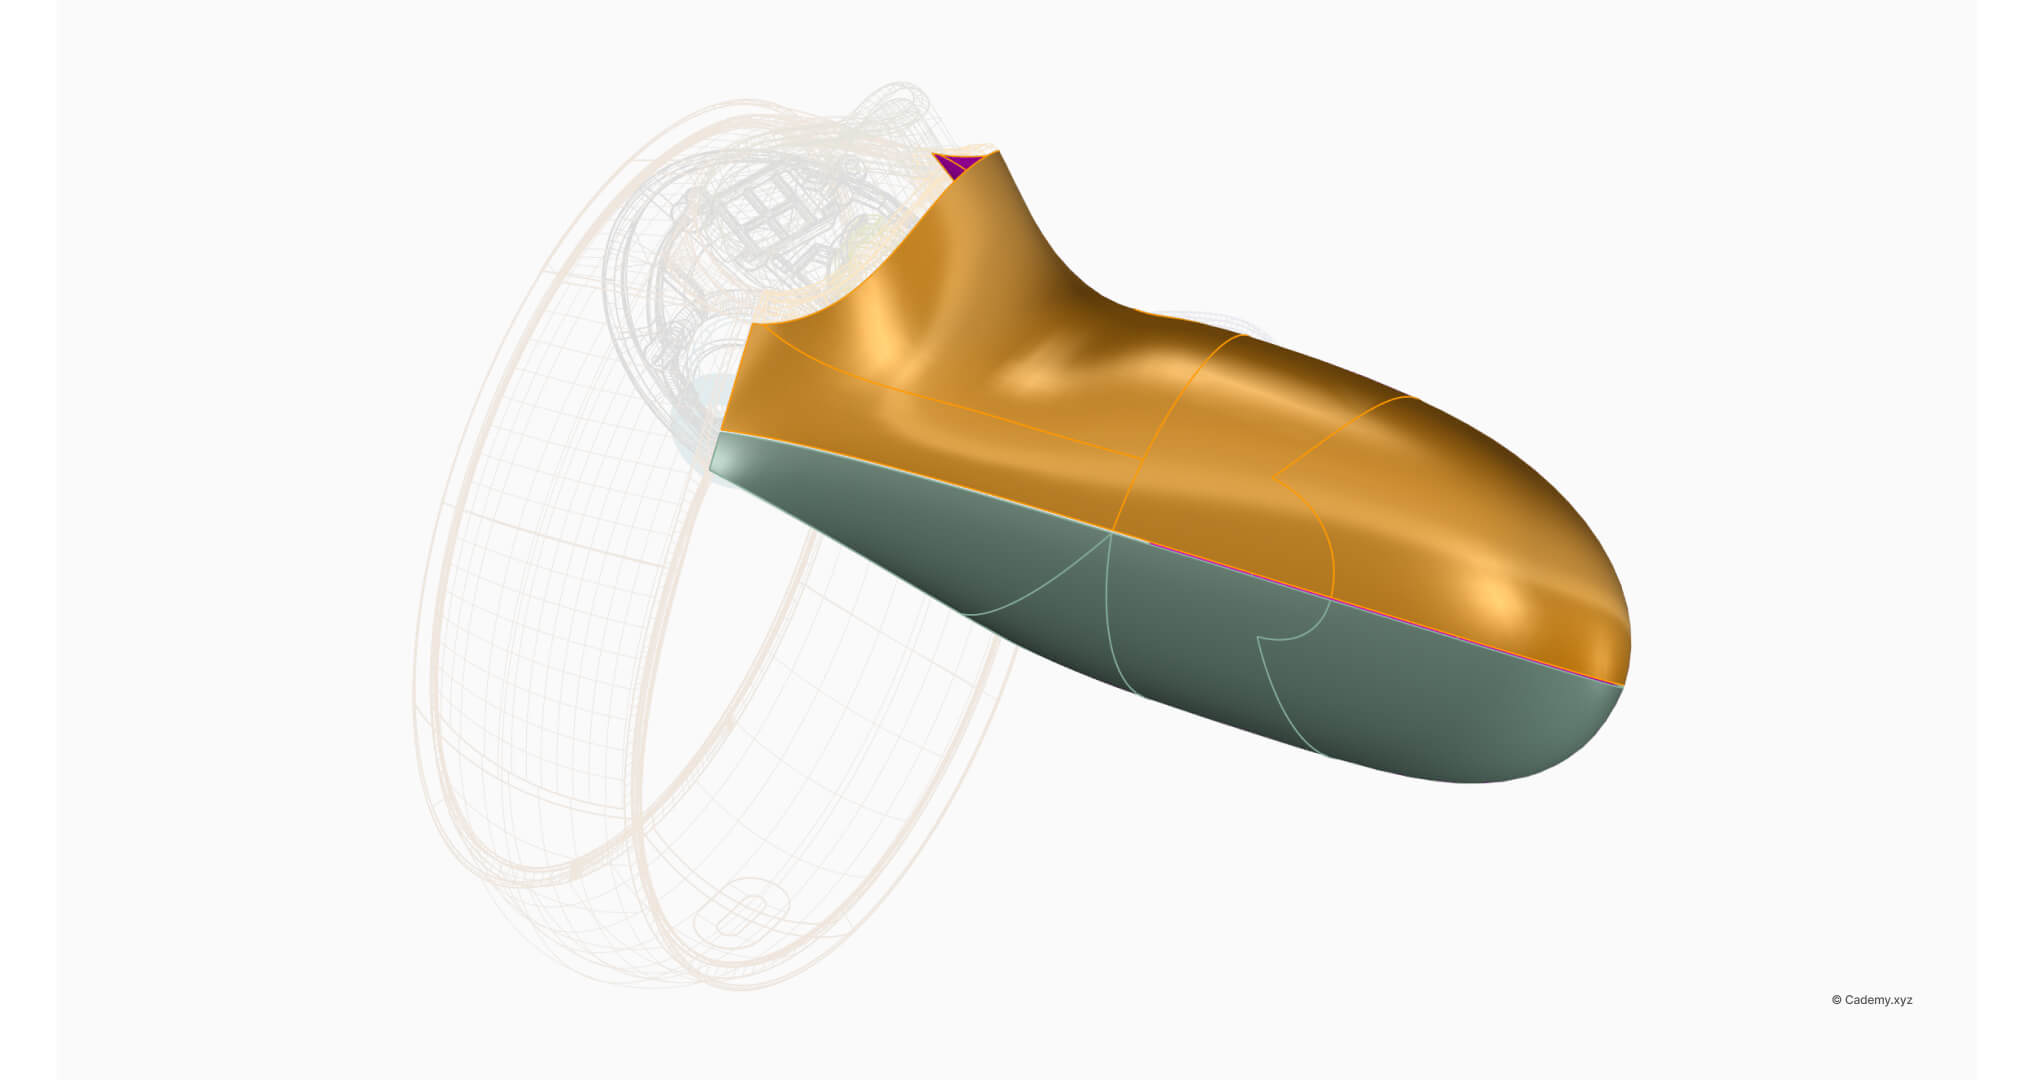
Step 3: Prepare the Surface for Texture Application
Prepare the Surface for Texture Application Trim or clean up areas of the surface that don’t require texturing, such as holes for buttons or smooth sections where texture isn’t desired. If necessary, you can model additional guide surfaces to help direct the texture onto curved or intricate areas. This is particularly useful if the geometry is missing or needs refining before applying a texture.
Step 4: Import the Polysurface into Grasshopper
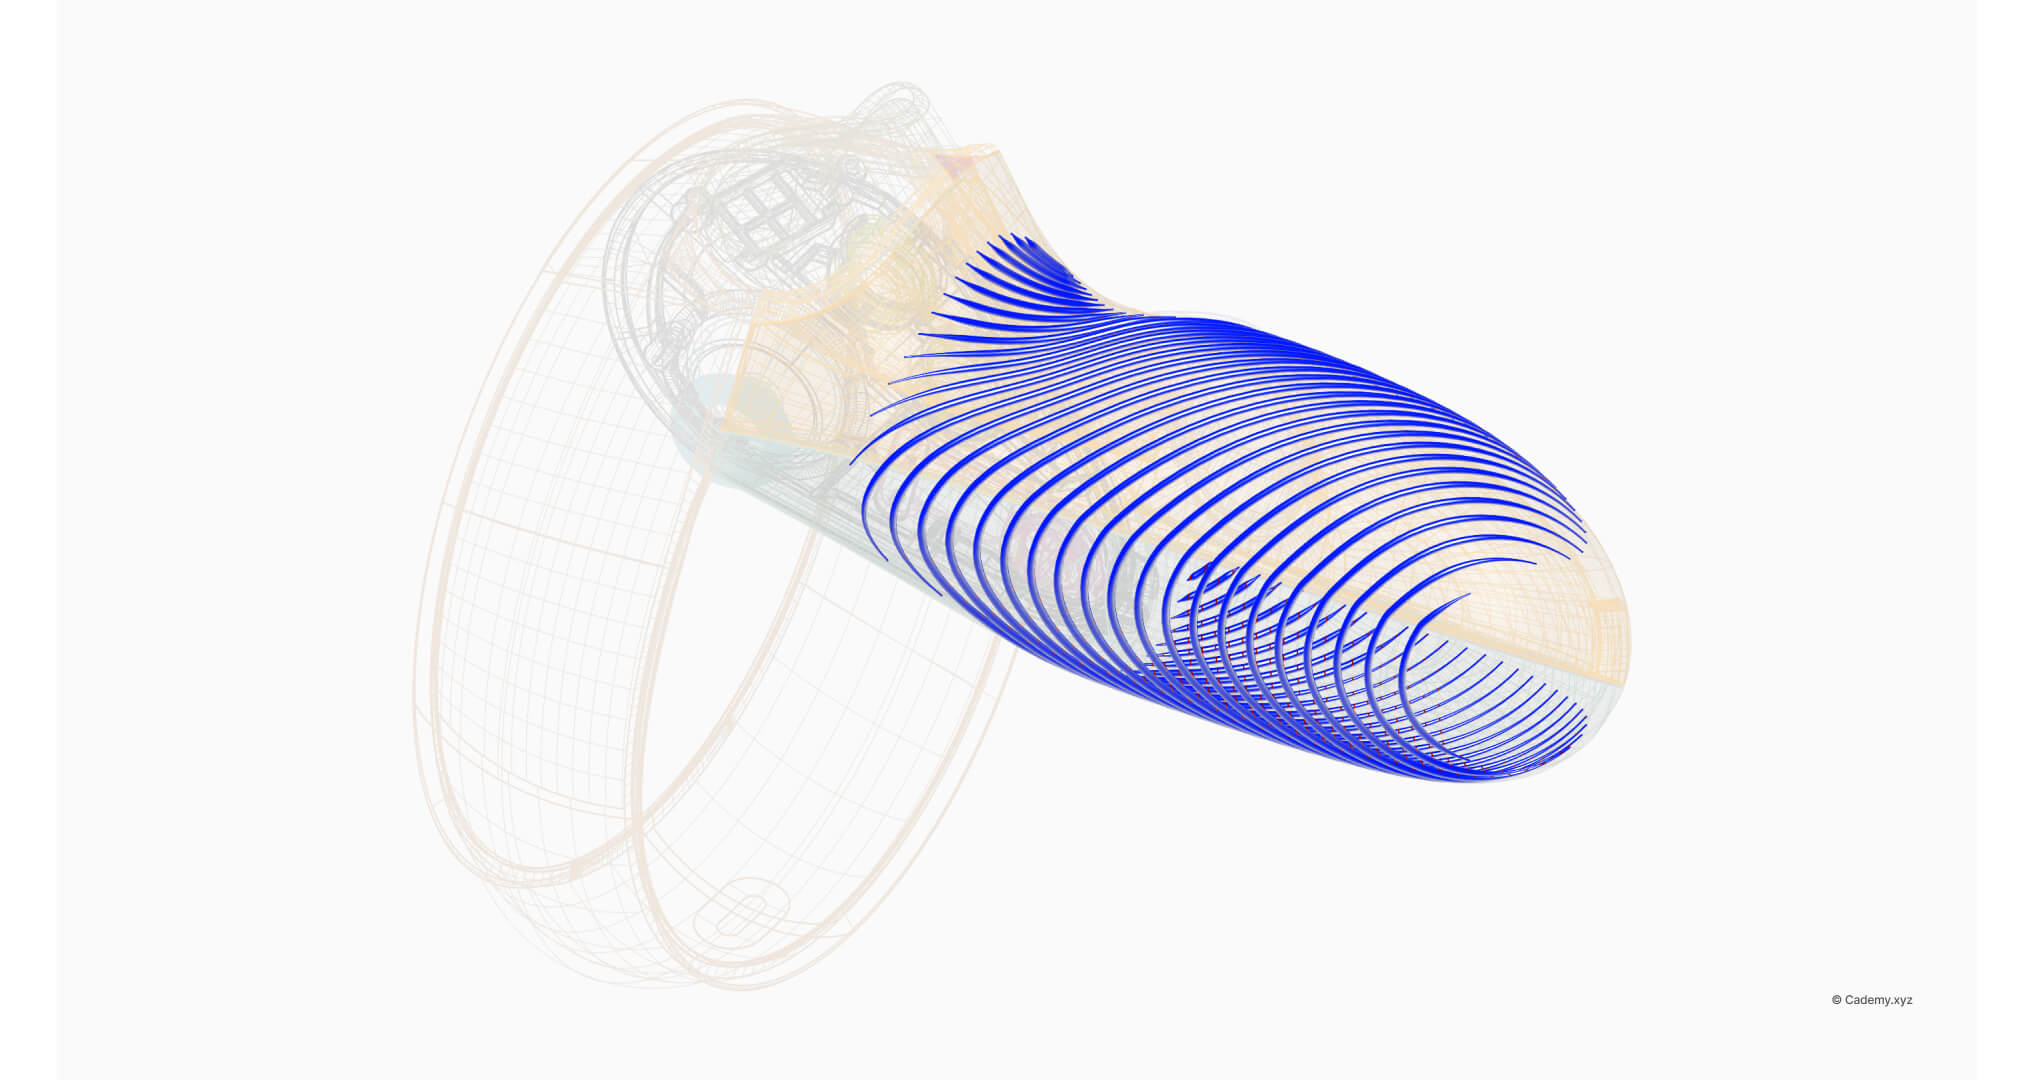
Import the Polysurface into Grasshopper once the isolated surface is ready, bring it into Grasshopper by referencing it as a Brep. In this tutorial, we’ll create a parametric texture using contour curves.
Use the Contour component in Grasshopper to create contour lines that will wrap around the handle or grip area.Generate contour curves in two directions (horizontal and vertical) for a crosshatch effect. Alternatively, focus on a single direction for a more streamlined pattern.Convert the curves into pipes with the Pipe Variable component. This allows you to control the radius of the pipes, creating varying thicknesses in the texture. For a Quest VR Remote Controller, consider smaller radii for a refined texture, similar to a microtexture or grip pattern.
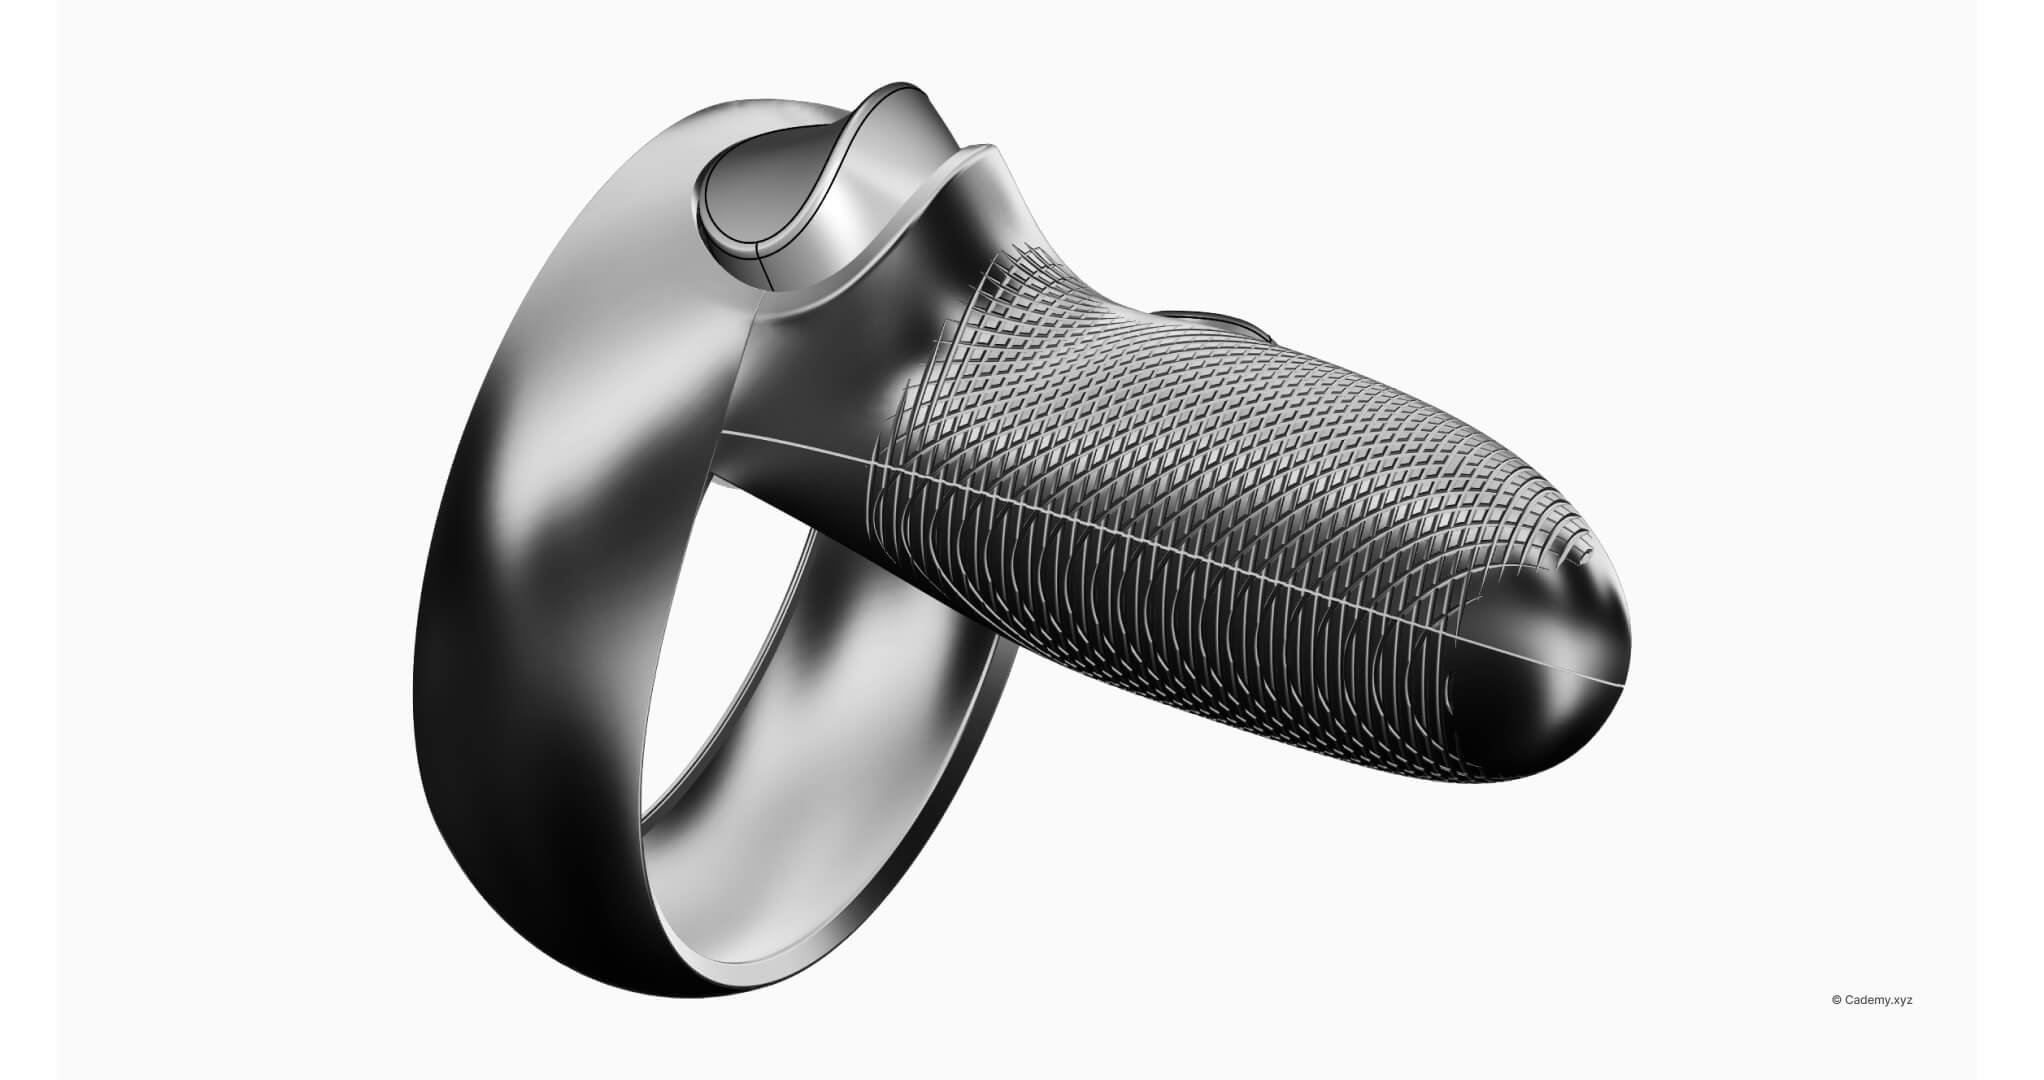
Step 5: Apply the Texture to the Controller
Apply the Texture to the ControllerOnce the texture design is complete, you can transfer it from Grasshopper to Rhino by baking the pipes.Next, perform a Boolean Difference operation between the controller model and the baked pipes. This will engrave the texture directly into the controller's surface, making it part of the physical geometry. On the handle of the Quest VR Remote, this could simulate a textured grip or even a decorative design feature.
Conclusion
By leveraging Grasshopper’s parametric tools, this tutorial demonstrates how to create customized textures on a Quest VR Remote Controller. With control over contour curves and variable radii, you can explore endless possibilities—whether for ergonomic enhancements or aesthetic refinements.
Don’t forget to download the resource files and share your results.
Thanks for reading ❤️
