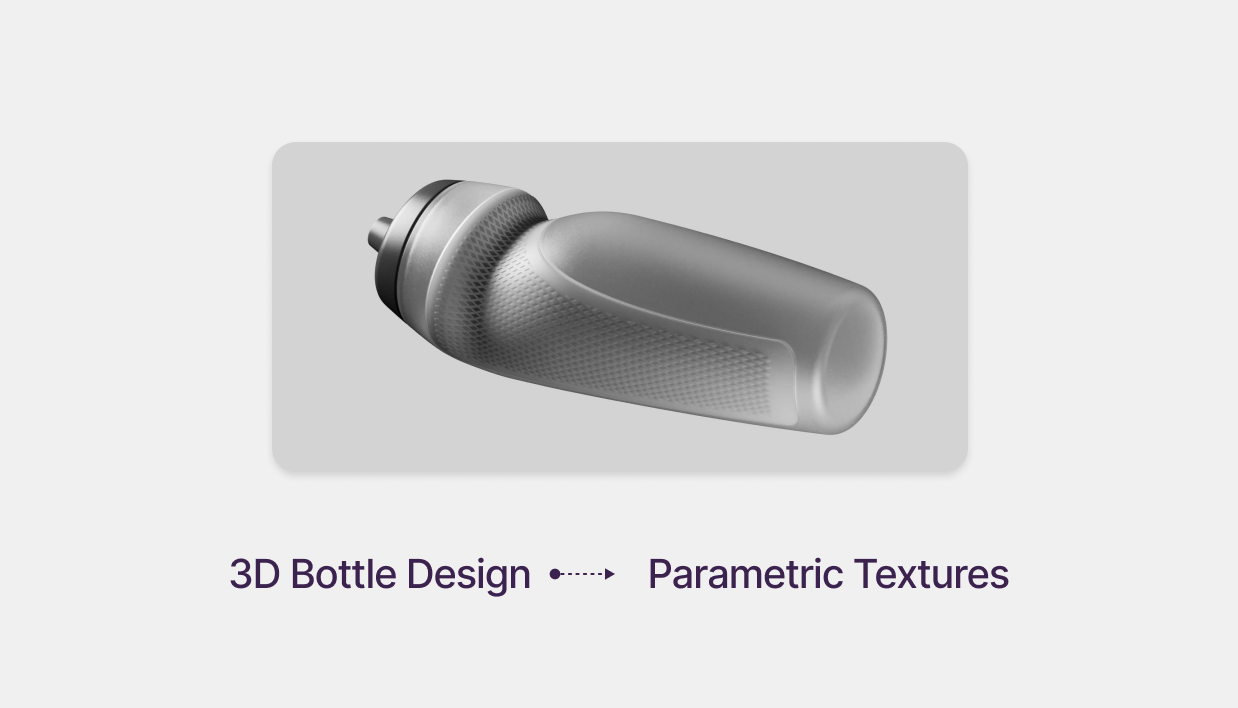
3D Bottle Parametric Textures in Rhinoceros Grasshopper 3D Tutorial

Download Files
In today’s competitive design industry, high-quality, production-ready 3D models are essential. Rhinoceros 3D and Grasshopper provide industrial designers with powerful tools to create complex, parametric textures while maintaining flexibility for rapid iteration.
This tutorial walks you through the process of modeling a 3D bottle with parametric textures, perfect for product visualization, prototyping, or manufacturing.
Step 1: Modeling Curves in Rhino Using a Reference Image
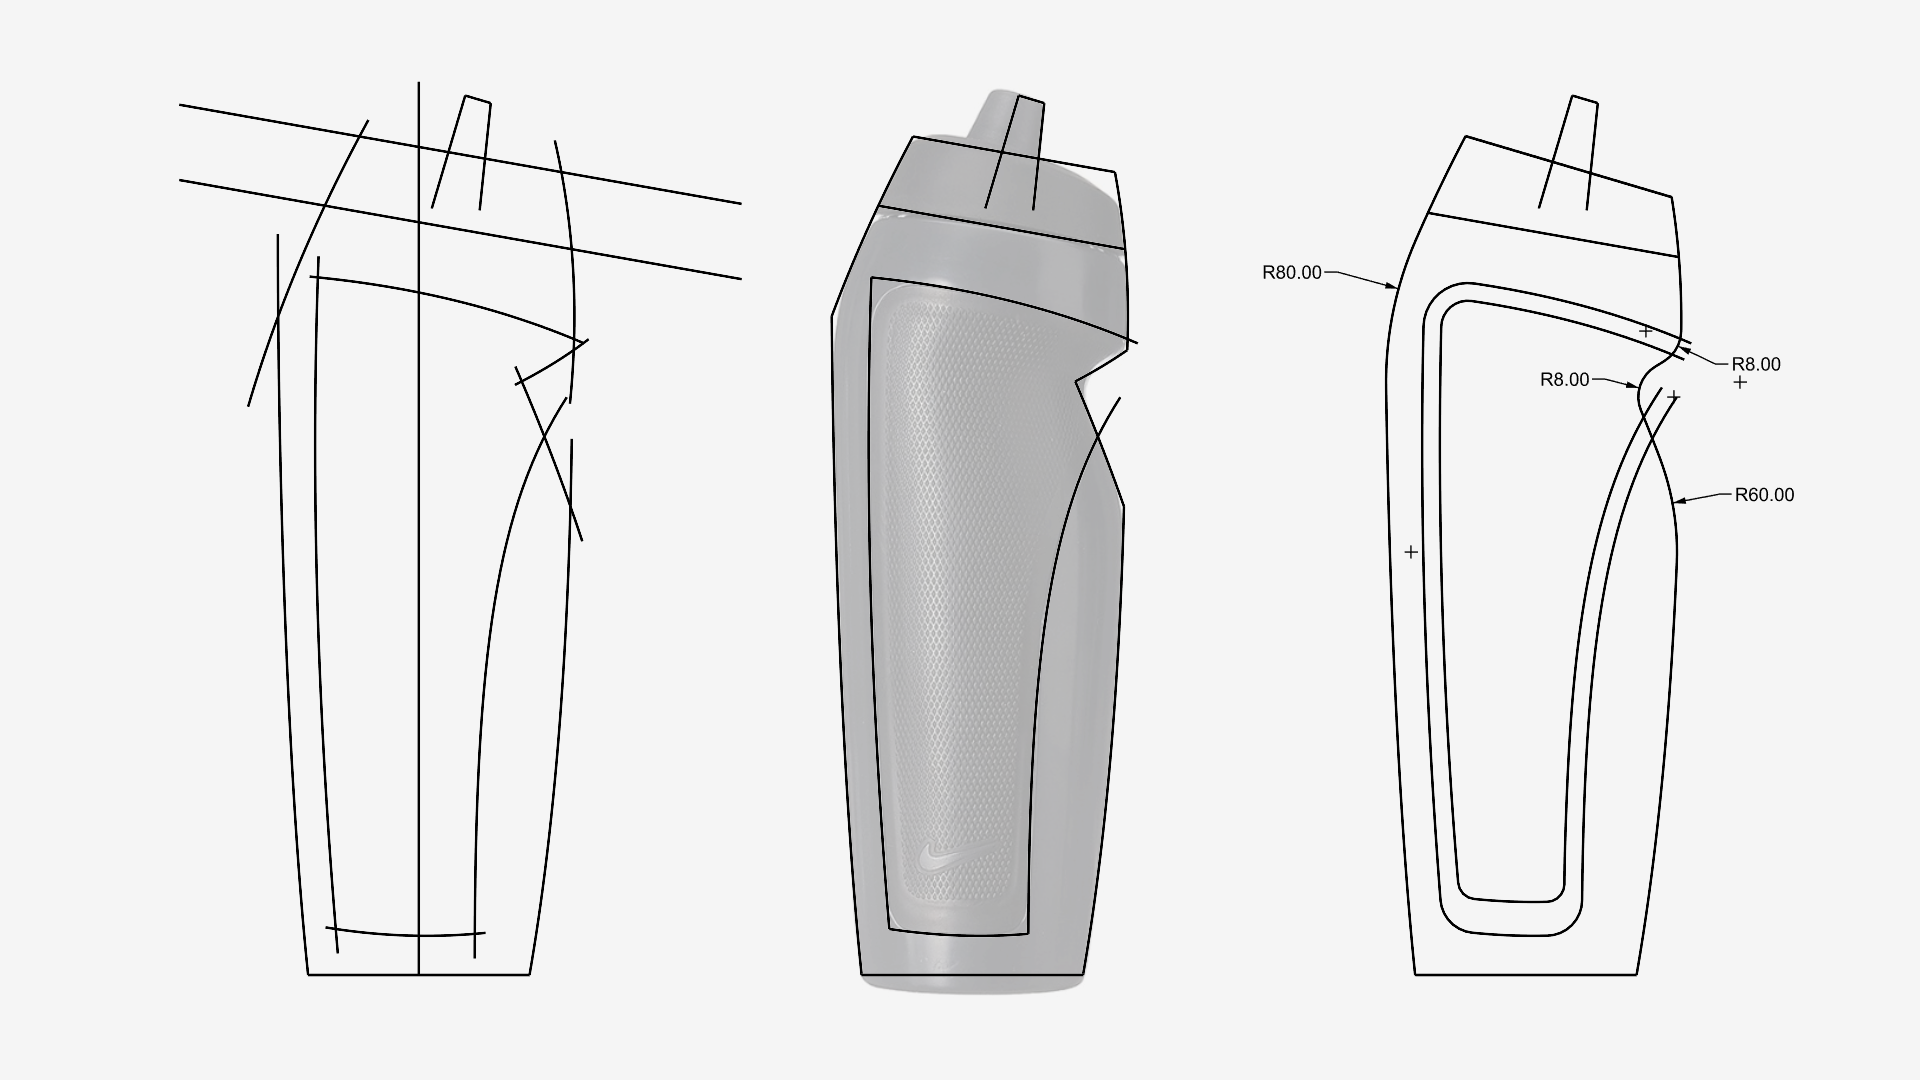
To begin, we'll trace the bottle’s outline using a reference image to create clean, smooth curves.
1. Trace the main outline of the bottle using individual curves.
2. Use Trim to clean up any intersecting curves.
3. Add fillets to the corners to create smooth, rounded edges.
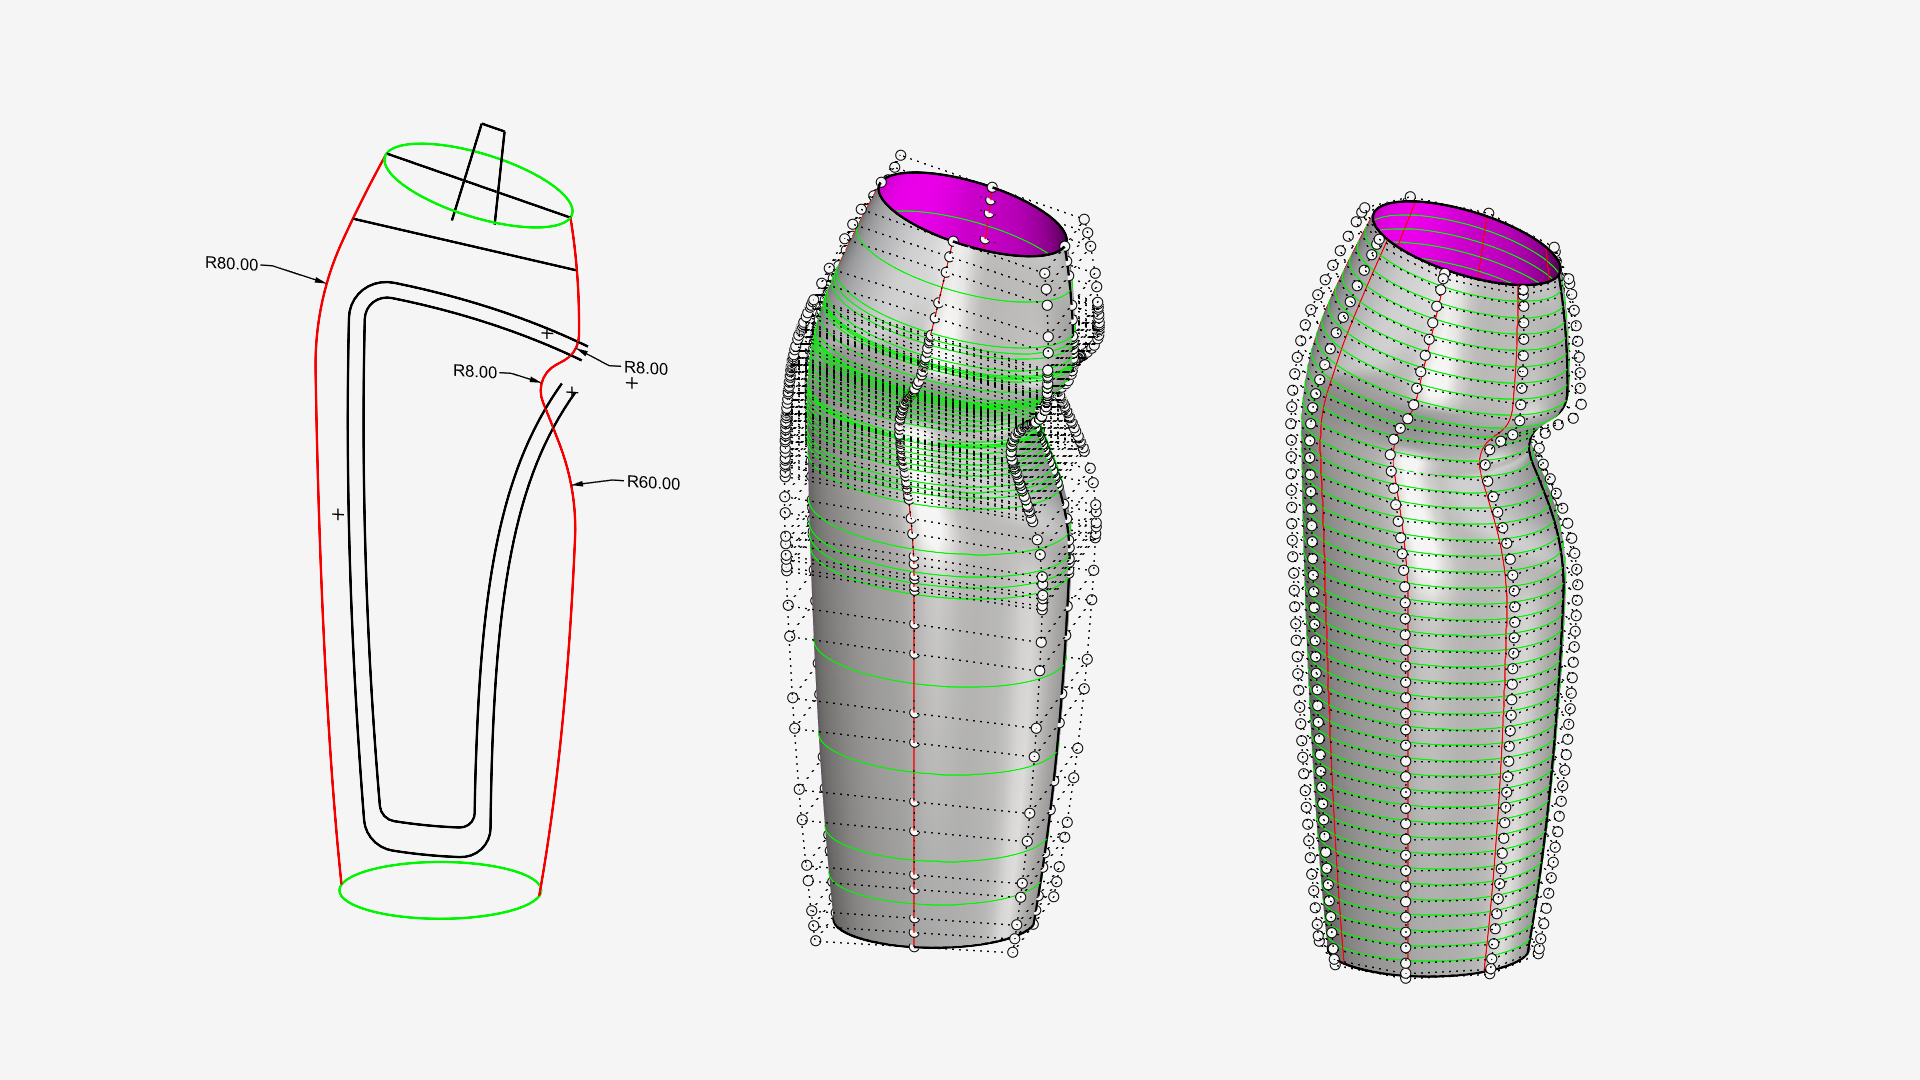
4. Create two circles in the Perspective View—one at the top and one at the bottom of the bottle.
5. Define cross-sections: create two circles in the Perspective View—one at the top and one at the bottom of the bottle.
Step 2: Creating the Bottle Surface with Sweep Two Rails
Once the base curves are set, we’ll create a continuous surface using the Sweep Two Rails command.
6. Select the outline curves as the rails.
7. Select the top and bottom circles as the cross-sections.
8. Generate a single, smooth surface.
9. Use the Rebuild command to simplify control points, making future adjustments easier.
10. Adjust the surface seam to avoid interference with the textured area later.
Step 3: Converting the Model into a Solid & Preparing for Texturing
Next, we’ll convert the surface into a solid and define the textured area.
11. Use Cap to close the top and bottom, forming a solid.
12. Define sections (cap, main body, textured zone) using interior curves.
13. Boolean Split to separate parts based on these curves.
14. Explode & Offset the textured portion’s boundary to refine the area for texturing.
This ensures a clean and controlled area for applying parametric textures in Grasshopper.

Step 4: Applying Parametric Texture in Grasshopper
Now that the surface is prepared, it’s time to apply a parametric texture using Grasshopper:
15. Import the trimmed surface into Grasshopper and shrink the trimmed surface to reduce unnecessary extensions.
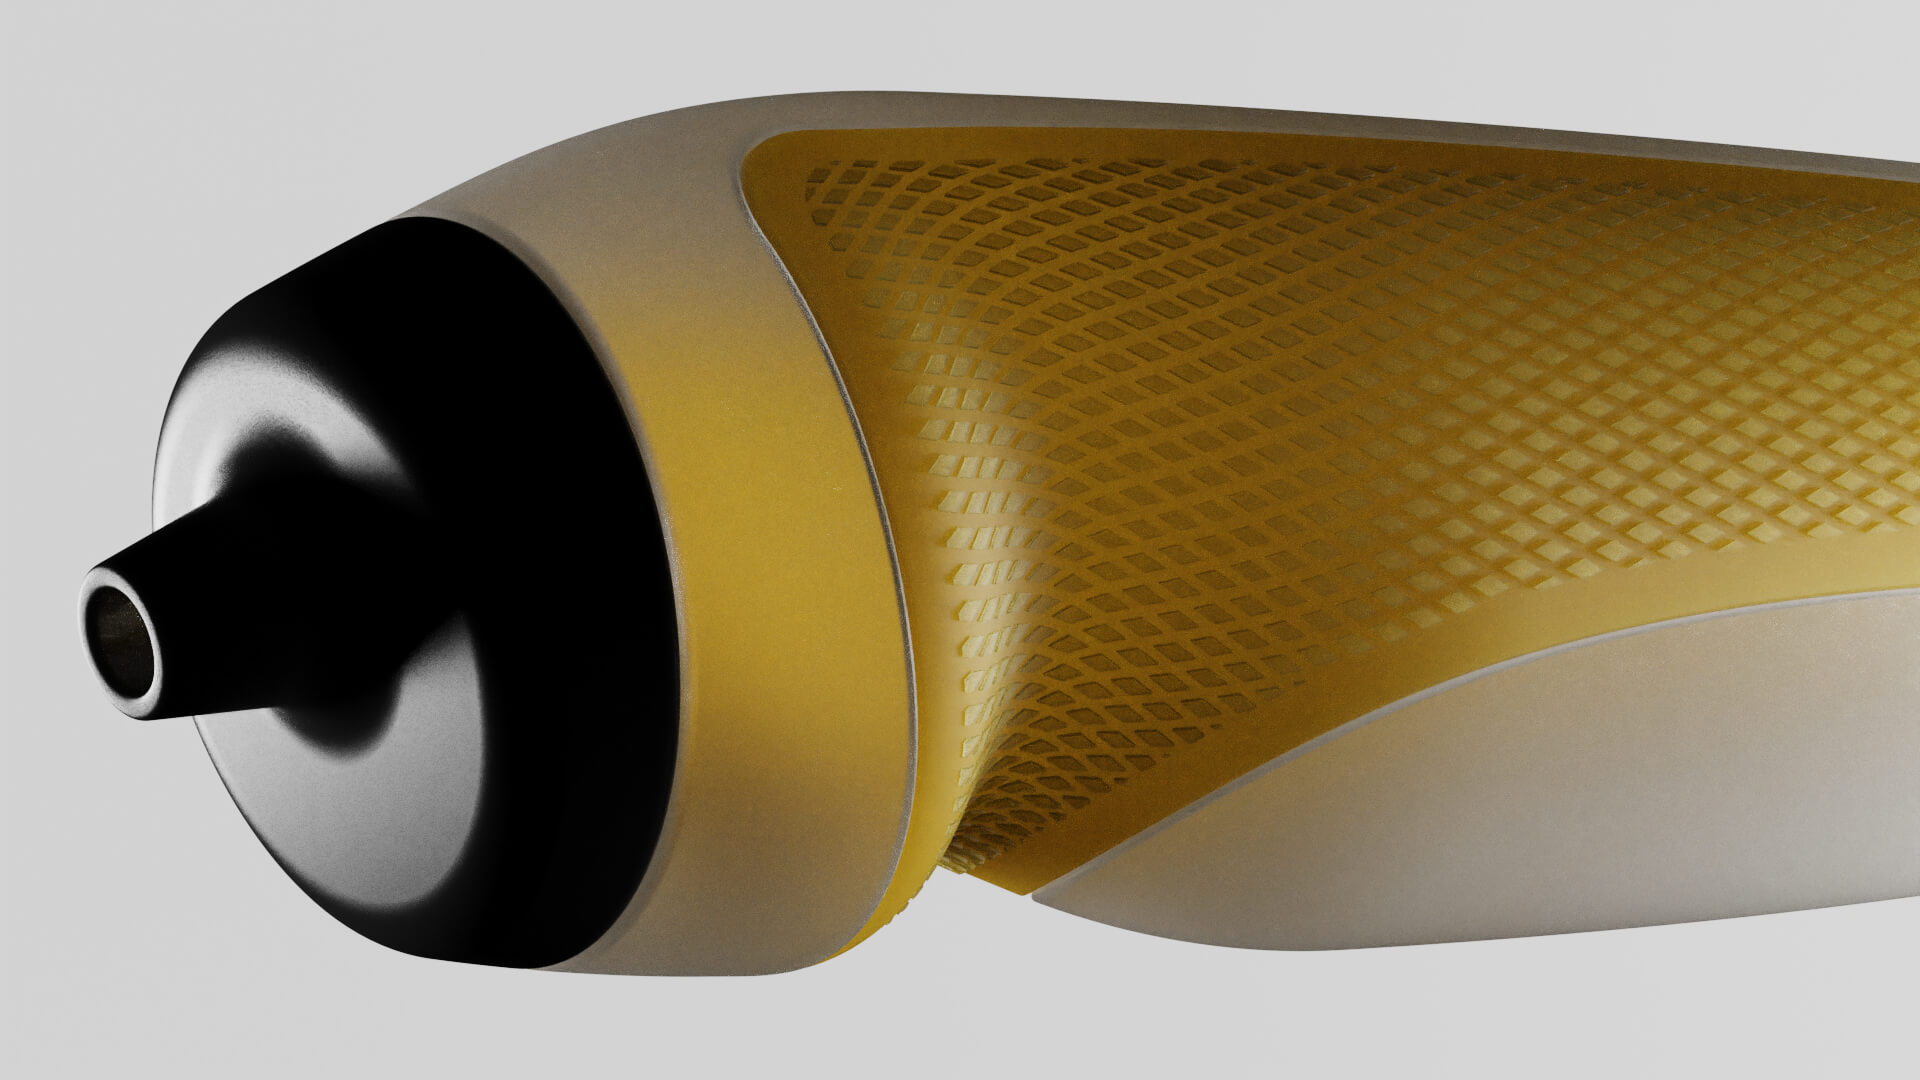
16. Use the Lunchbox Diamond Panel component to create a texture pattern.
17. Scale the pattern appropriately and Pull it onto the trimmed surface.
18. Trim the surface using the pulled curves to create the final texture pattern.
19. Extrude the textured surface in the normal direction (both sides) to give the pattern some thickness.
20. Finally, Bake the geometry and integrate it back into the remaining parts of the bottle.

Conclusion
You’ve successfully created a 3D bottle in Rhino, applied a parametric texture using Grasshopper, and assembled all components into a refined industrial design model.
Don’t forget to download the resource files and share your results.
Thanks for reading ❤️
