
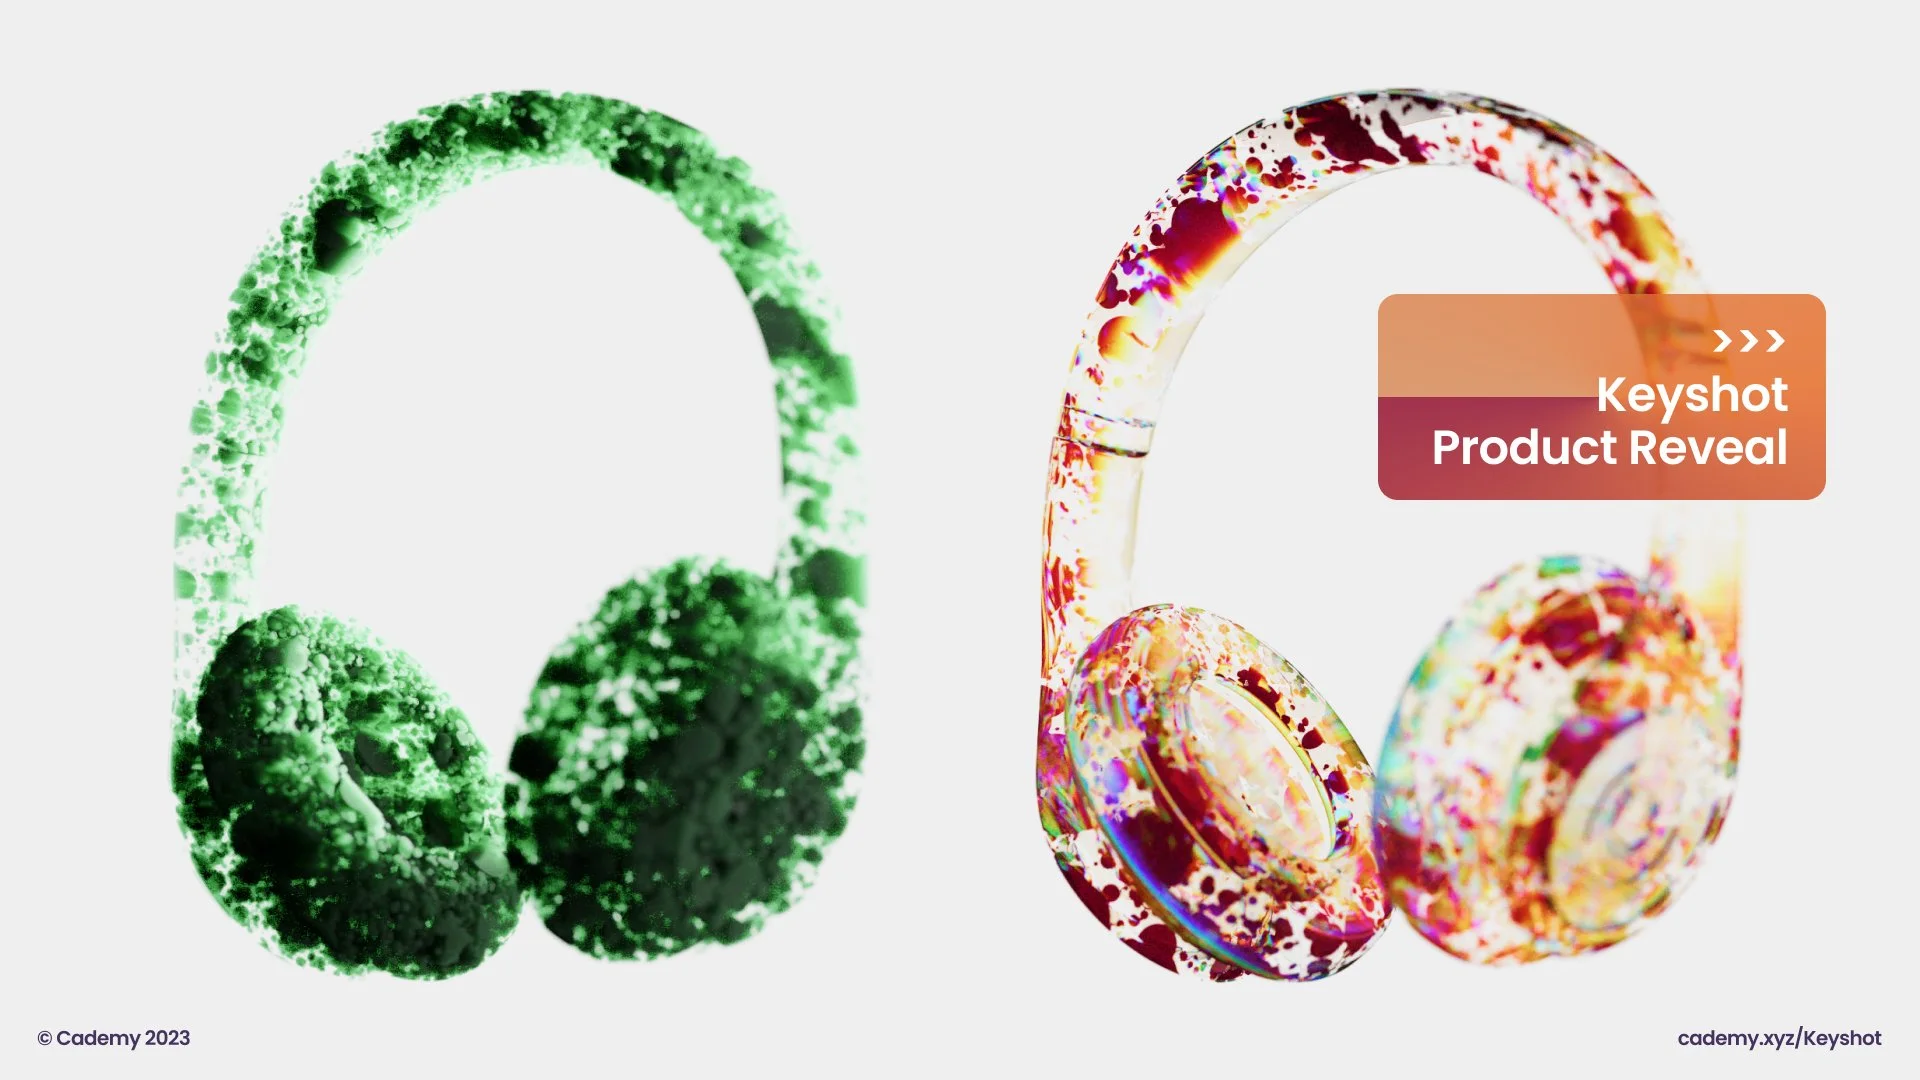
Keyshot Render: 'Product Reveal' Animation Trick
Hey Guys, here is a quick (and neat) trick you can do in a few simple steps to create stunning "Product Reveal" animation in KeyShot. This method can be applied to any Material node with opacity or density map. Do share it with others if you find it useful. Happy rendering :)


STEP 1 : DEFINE MATERIAL
Use the desired surface material/s for the product. You can use any material (e.g., Metal, Plastic, Dielectric or Scattering Medium) with opacity or density parameters.

STEP 2 : SPOTS NODE
Use the Spots node to scatter random spots on the geometry. Calibrate the Scale, Density and Radius parameters and ensure when the Radius is set to max, the whole geometry is covered in Spots.

STEP 3 : OPACITY/DENSITY TEXTURE
Use the Spots Node as the Opacity or Density Texture. The white spots will show the material, and the black Spots will hide the material.
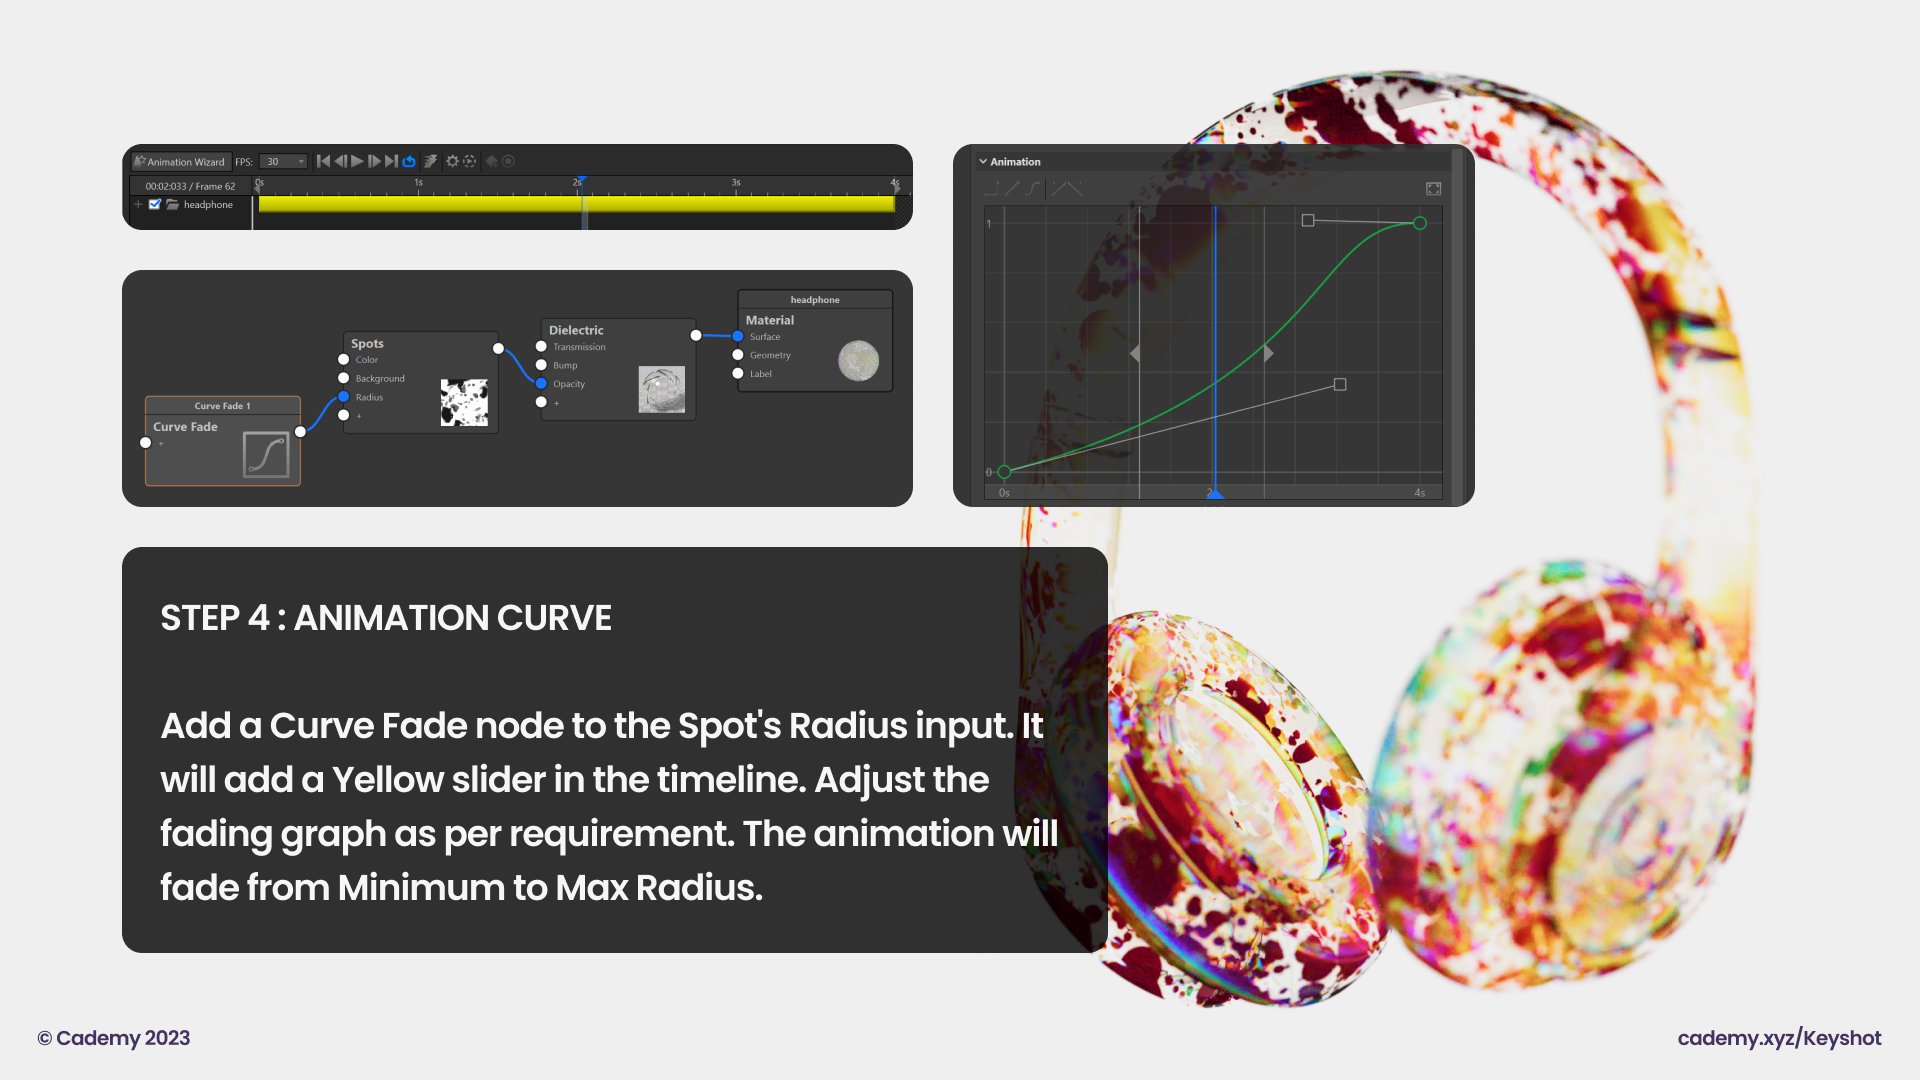
STEP 4 : ANIMATION CURVE
Add a Curve Fade node to the Spot's Radius input. It will add a Yellow slider in the timeline. Adjust the fading graph as per requirement. The animation will fade from Minimum to Max Radius.
STEP 5: ANIMATE MATERIAL REVEAL
Animate the Curve Fade node to create a stunning material reveal animation. As the yellow slider moves from left to right in the timeline, the spots on the product geometry will gradually fade, revealing the underlying material. This creates an eye-catching effect that adds visual interest and excitement to the product reveal animation.
STEP 6: PLAY WITH PARAMETERS
Experiment with different values for the Scale, Density, Radius, and Opacity/Density Texture to achieve the desired look for your product reveal animation. You can also adjust the animation curve in the Curve Fade node to control the speed and timing of the material reveal.
STEP 7: ADD LIGHTING AND CAMERA ANIMATION
To enhance the visual impact of the product reveal animation, you can add lighting and camera animation. Play with different lighting setups and camera angles to create dynamic and visually appealing shots. You can also use Keyshot's camera animation tools to create smooth camera movements that complement the material reveal animation.
STEP 8: RENDER AND ADJUST
Render your animation and review the results. If necessary, make adjustments to the material properties, lighting, or camera animation to fine-tune the product reveal animation and achieve the desired visual impact. You can use Keyshot's real-time rendering capabilities to quickly see the changes and iterate until you are satisfied with the final result.
STEP 9: POST-PROCESSING
After rendering, you can further enhance the product reveal animation using post-processing techniques. You can use Keyshot's built-in post-processing options such as depth
If you wish to learn Keyshot, you can join our LIVE Keyshot Rendering Masterclass.